Silksong Bellhart walkthrough
How to complete Bellhart in Hollow Knight: Silksong.
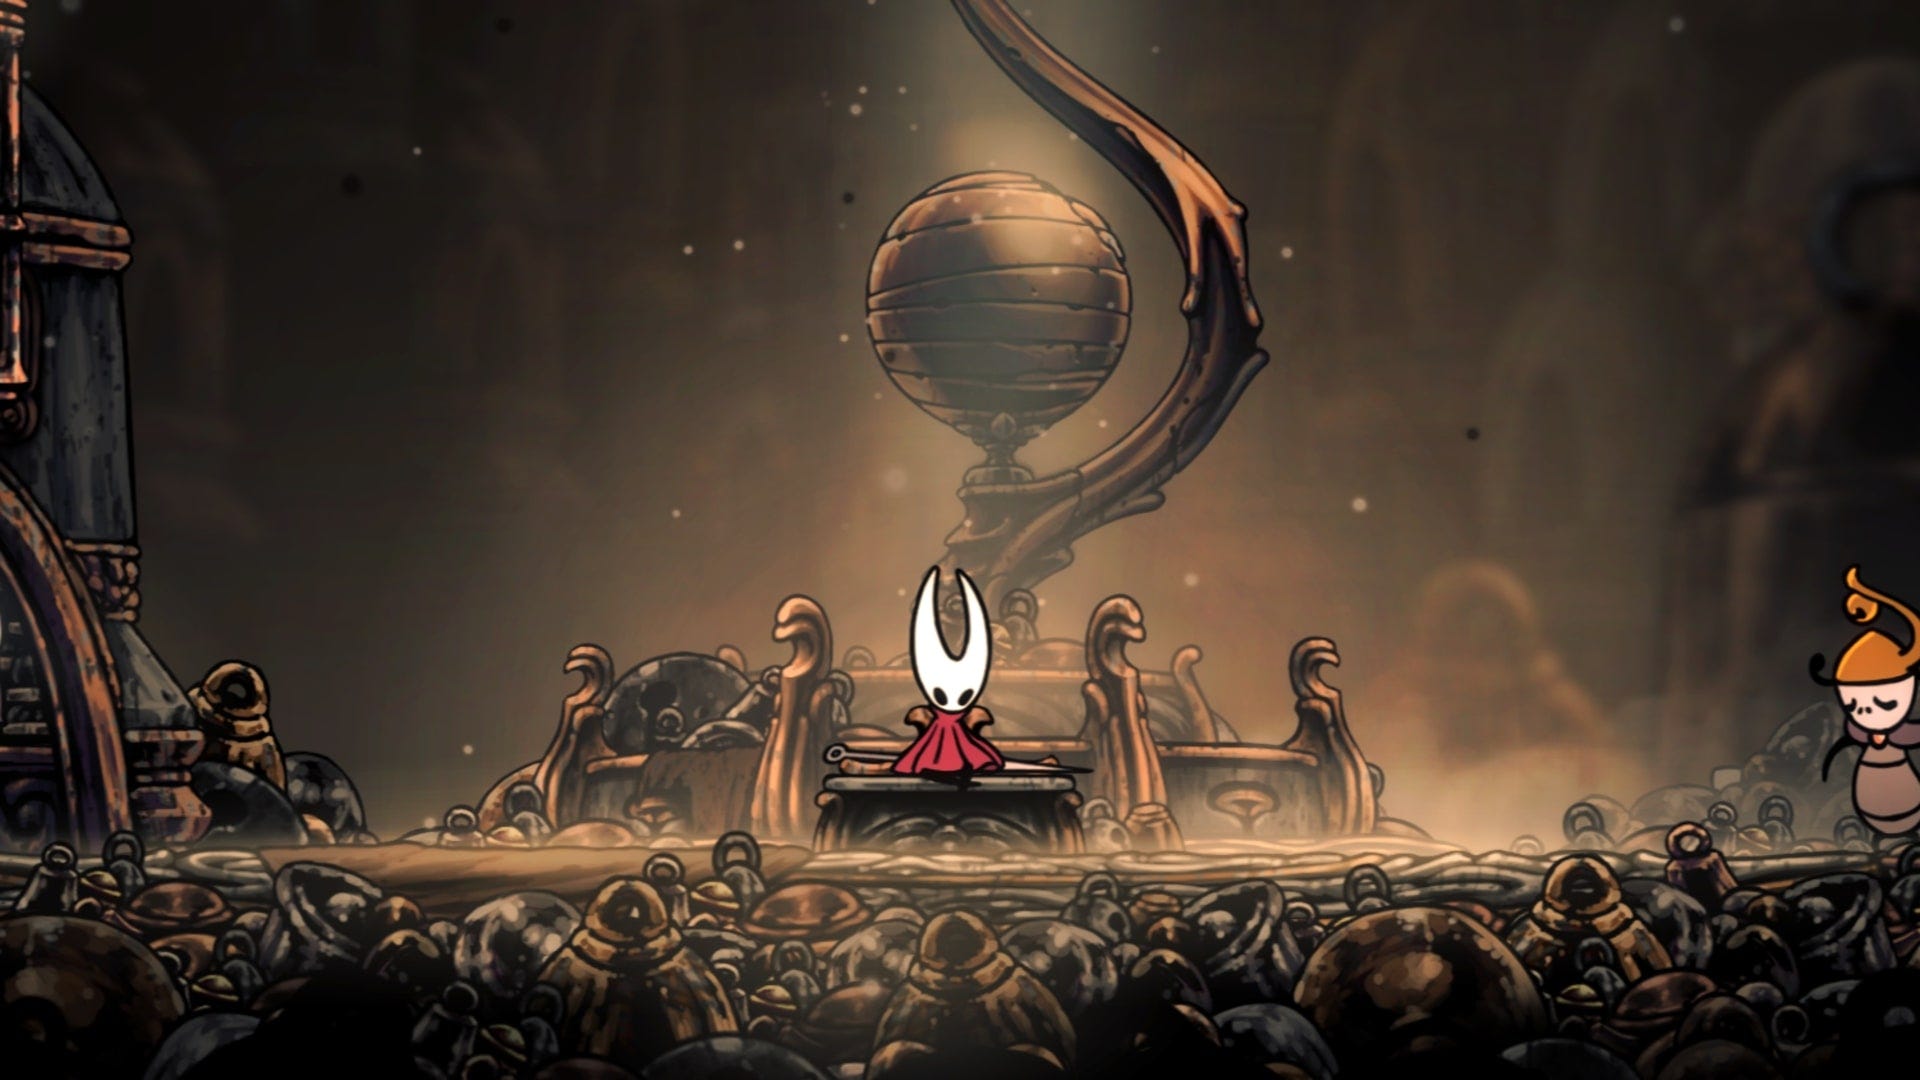

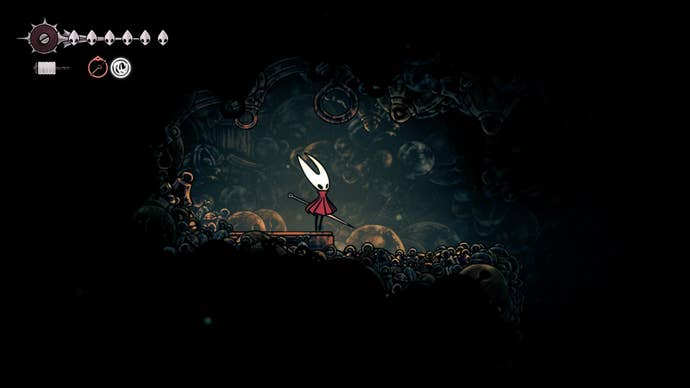
The small region of Bellhart in Hollow Knight: Silksong is quite the shock when you first walk in. Bellhart’s inhabitants in Silksong are strung up and bound by thread, unable to talk or interact with each other due to some terrible curse that has afflicted them.
Fortunately for Bellhart, you’re here to free the inhabitants of this curse and will wind up with another bustling hub area to regularly visit. To make sure that happens, here’s our Silksong Bellhart walkthrough.
Silksong Bellhart walkthrough
You will arrive in Bellhart after either defeating Moorwing in Greymoor or being transported to Greymoor with the Flea Caravan (thus temporarily skipping the Moorwing fight). From here, exit the area to your left to ultimately reach the small region of Haunted Bellhart.
Bellhart wasn’t always haunted though and it’s now Hornet’s job to free the small town from its curse, allowing its inhabitants to go back to their usual activities (and therefore allowing Hornet to make the most of their shops and other offerings). To do this, you must first go left of Bellhart and into Shellwood.
Clear Shellwood and unlock Cling Grip to explore Bellhart
In Shellwood, you must defeat Sister Splinter and unlock the Cling Grip Skill first to be able to then go back and explore the entirety of Bellhart. If you need some help with that, here’s our Silksong Shellwood walkthrough.
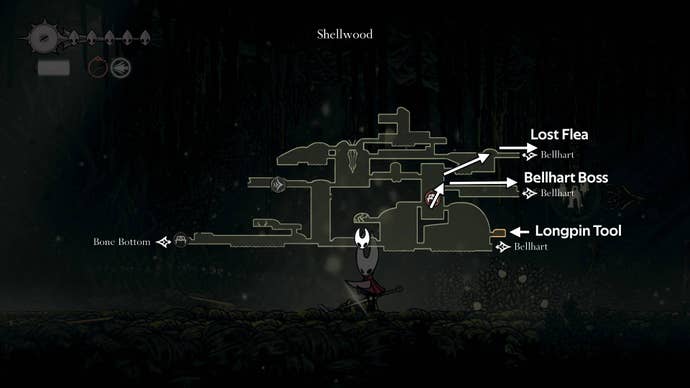
Once you have the Cling Grip Skill available, you can return to Bellhart, but there’s another two entrances – via Shellwood – that we want to use to reach a lost Flea and the boss of the area (labeled on the below map). Defeating this boss and completing a small bit of platforming afterwards will allow us to free Bellhart from its curse.
Rescue Bellhart’s Flea
Let’s grab the lost Flea first though, then we’ll deal with Bellhart’s boss.
As you can see via the above map, we want to start from the central Bench in Shellwood and use the elevator to reach the top of the room. Exit via your right and climb up the platforms on the right-hand side of the room to enter northern Bellhart.
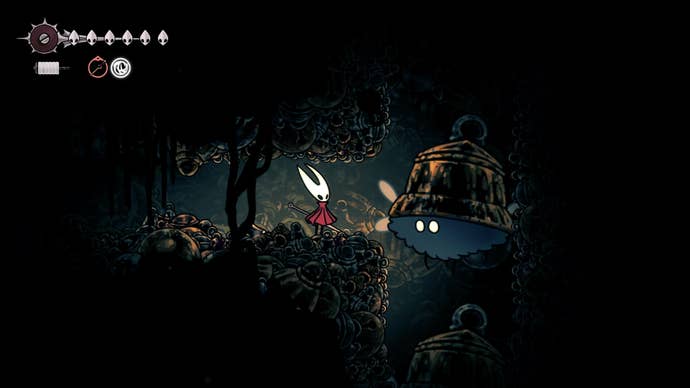
Along the following path, you’ll find yourself blocked off by bells; attack these to clear the path and continue progressing. You’ll also encounter Furm and Winged Furm enemies along the way that fortunately aren’t too troublesome, but you’ll want to clear them out so that they do not block your path.
On top of that, be careful of any dark vertical paths you hop into and make the most of the Cling Grip Skill, as you don’t want to fall into any enemies or traps.
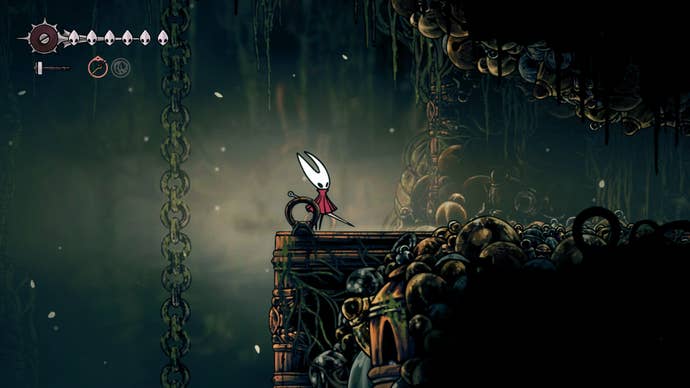
Once you reach the first Winged Furm along this route (the big flying dust mite enemy with a bell helmet), kill it and use Cling Grip to head upwards and left. In the small area here, you’ll find a trapped Flea; attack his trap to free him.
Beat Widow and unlock the Needolin
With the Flea rescued from Bellhart, it’s time to go back on yourself a little bit. From the Flea, go right and jump down, being careful of the bell that falls here. Go right and down past another Winged Furm enemy, then keep right and go down again.
Next, you’ll need to go left and down past two more Winged Furm enemies; use Clip Grip to slide down the walls and hop onto the ledges along the route to avoid getting damaged by them.
Take a left after you’re past the two Winged Furms, taking care of the falling bell. You’ll come to an exit on the floor but first, go left of this exit. Destroy the wall here and you’ll unlock a shortcut back to the central Bench in Shellwood. Rest if you need to then come back here, going through the exit in the floor this time.
If you then go right and jump down again, you’ll find yourself starting the boss fight against Widow. A formidable and fast opponent, she’s tough to take down but very necessary as she allows us to unlock the Needolin (which we can then use to unlock Needolin doors around Pharloom).
If you need some help with beating her, here’s our guide on how to beat Widow in Silksong.
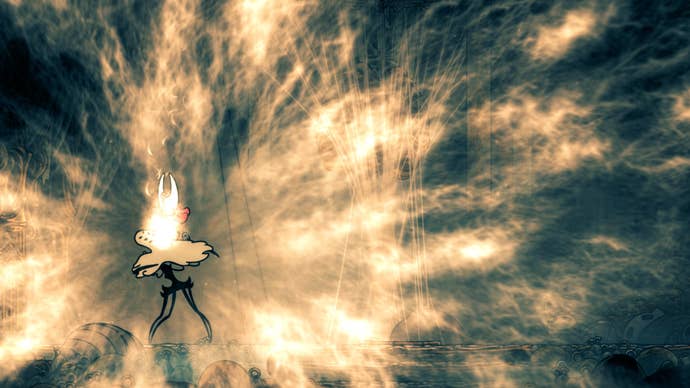
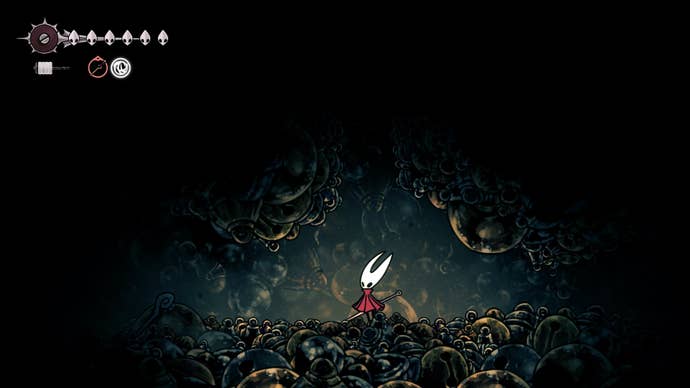
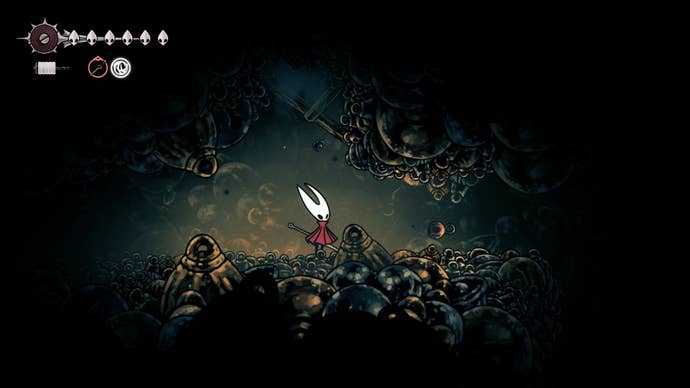
Once you defeat Widow, bind to her to unlock the Needolin at last. You’ll then awaken in a strange, colourless world where you must do some platforming to reach the top. The platforms here (excluding walls) will disappear shortly after you stand on them so bear that in mind.

Free Bellhart and meet all of its NPCs
Once you reach the top of this small area, interact with the item at the end to be teleported back to Widow’s boss arena in Pharloom (you’ll have also now freed Bellhart from its curse).
Rest at the new Bench here if need be then go left of Widow’s arena to unlock the exit. Head back into Shellwood and this time, use the southmost exit into Bellhart, returning us back to where we started after leaving Greymoor.
Haunted Bellhart will now be Bellhart, and all the strung-up lifeless NPCs from earlier will be back to normal. Time to meet all of them!
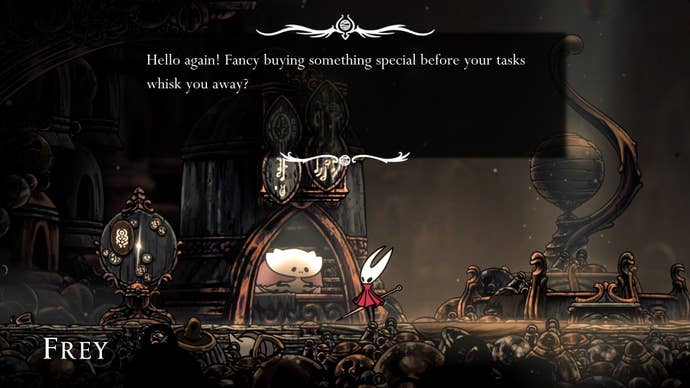
First things first, speak to Frey at his shop and check out his wares, then check the Wish Board beside him and collect any Wishes you want to do.
You’ll also be able to speak to Sherma, Pavo, and if you can catch him, Pondcatcher Reed here.
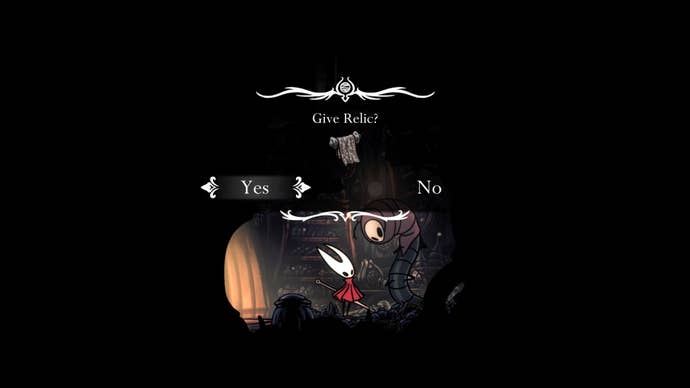
If you then go up the platforms on the left-hand side of this area, you can go and speak to Relic Seeker Scrounge – who’ll take any Relics off your hands and share their lore with you – and a very notable NPC known as Pinmaster Plinney.
Unlock your first Needle Upgrade from Pinmaster Plinney
Speak to Pinmaster Plinney and it’ll soon become apparent why this NPC is so important; he upgrades your Needle!
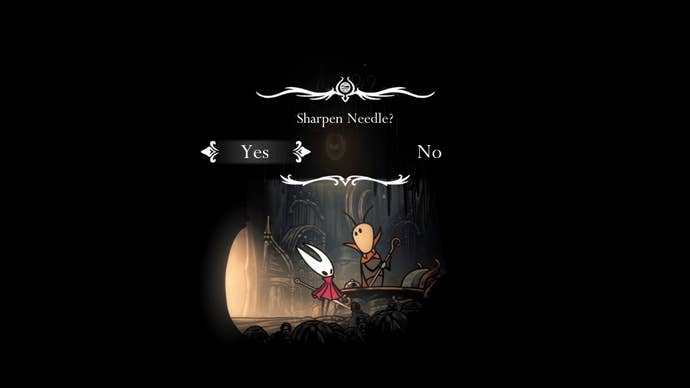
Your first Needle upgrade is given to you by Plinney free of charge and he’ll then task you with the Pinmaster’s Oil Wish – requesting that you find him some Pale Oil in The Citadel – to get your next upgrade.
We now have two more things to do before we can continue progressing with the final portion of Act 1 of Silksong.
Meet the Bell Hermit
Enter the Bellhart Bellway, which is in the small house to the right of Bellhart’s Bench. Unlock the Bellway for 80 Rosaries if you haven’t already and then go right of it; attack the wall here to reveal a hidden path.

At the bottom, you’ll meet the Bell Hermit who is found hiding away inside the base of a bell. Exhaust his dialogue.
Unlock the shortcut back to The Marrow
With the last of Bellhart’s NPCs having been met, we’re going to wrap up by unlocking a shortcut back to The Marrow. From the Bell Hermit, go right slightly and you should see a narrow passage above you that you can climb up using Cling Grip.
Once you reach the top of the narrow passage, go left to come to another opening; jump over it to find a stash of Rosaries. Carefully slide down the opening next, being careful of the spike trap below.
At the bottom of this passage, head right and be careful of the two Furm enemies that will appear. Just past them, you should see some wooden beams above you that can be destroyed. Destroy them and dodge out of the way once you do.
If you go up past where the wooden beams were and keep right, you’ll arrive back at the Bellway. If you instead keep right from where you destroyed the wooden beams, you’ll come to another Winged Furm enemy we need to kill.
After that, you can keep going downwards but keep left while doing so as to avoid another spike trap. You’ll also arrive at another stash of Rosaries. Collect them and keep going downwards, then left.
Go up along the following passage, being careful of the Furm that spawns. At the top of this passage, there will be some more wooden beams for you to destroy.
Head left past the Winged Furm enemy and jump all the way down, quickly dodging to your right once you reach the bottom. A spike trap is revealed beneath the bells here if you linger too long.
Head right and jump down, dodging to the left as you reach the bottom again (to avoid another spike trap). You’ll arrive at a third wooden beam to destroy, which reveals a downwards passage – go down it. At the bottom, you’ll be rewarded with another stash of Rosaries and at last, an exit into the northern section of The Marrow.
With Bellhart done and dusted, you’re on the final stretch of Act 1 and very quickly approaching Act 2 of Silksong. You also happen to have two ways of getting there.
The first is by going to Blasted Steps via Shellwood and beating The Last Judge. The second is by going to Sinner’s Road and The Mist via Greymoor and beating Phantom. It’s entirely up to you which route you take to access Act 2.
For more on Hollow Knight: Silksong, take a look at our list of all Pollip Heart locations needed for Greyroot, our list of all Silk Heart locations, and our Silksong walkthrough.
Read this next
- Hollow Knight: Silksong devs admit it has "moments of steep difficulty" but also a "higher level of freedom" to avoid getting stonewalled
- Hollow Knight: Silksong's second patch detailed, but don't expect any balance tweaks
- Hollow Knight: Silksong is reportedly already about a third of the way to the original's total sales, with Steam leading the charge