Silksong Blasted Steps walkthrough
How to complete Blasted Steps in Hollow Knight: Silksong.


Blasted Steps in Hollow Knight: Silksong is one of the game’s less-than-pleasant areas, full of awful enemies, traps, and a very tough boss that we have quite the runback for. That said, Silksong’s Blasted Steps is also home to some useful items and a new ability that you’ll want to grab sooner or later.
To make sure you don’t miss out on anything important and help you find the region’s two bosses, here is our Silksong Blasted Steps walkthrough.
Silksong Blasted Steps walkthrough
Before we explore Blasted Steps in Silksong, there are two things to note about this horrible area. The first is that the floor – where there isn’t visible platforms – is full of sandworms that will do two Masks of damage if you touch them.
The second is that there are regularly high winds in this area, which you can recognise by the sky becoming slightly darker and the sound of wind becoming louder; these winds allow you to glide further and faster with the Drifter’s Cloak, which can work to both your advantage and disadvantage. Bear that in mind!
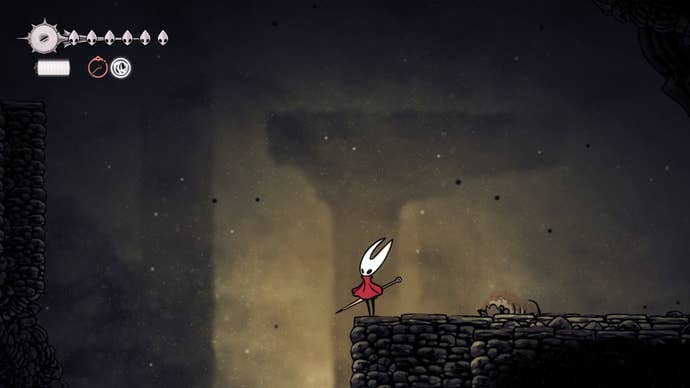
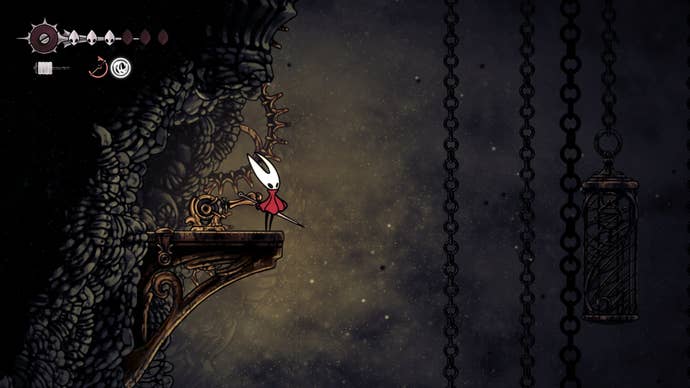
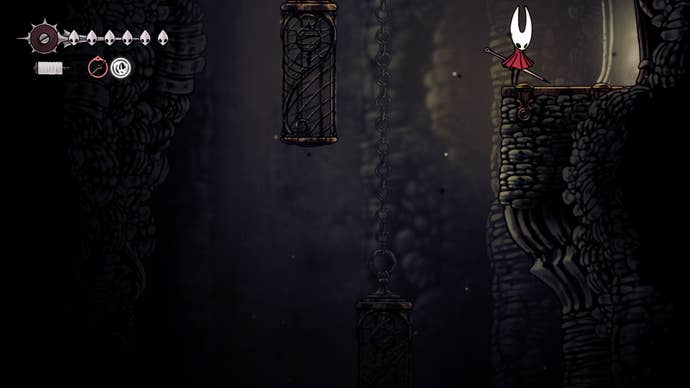
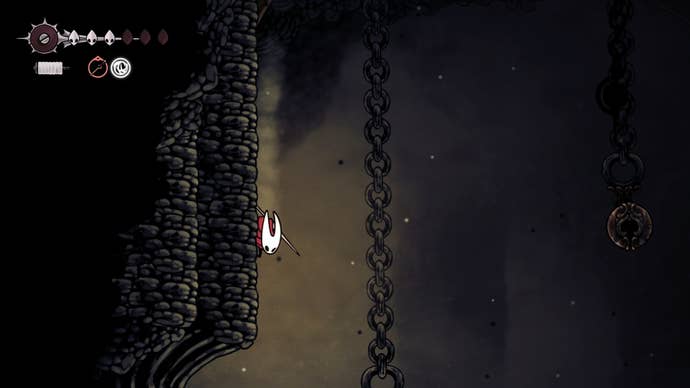
Assuming you are starting from the Shellwood Bellway, take a left, rest at the Bench, and exit to your left to enter Blasted Steps. In the following area, keep going left until you come to the platform shown below.
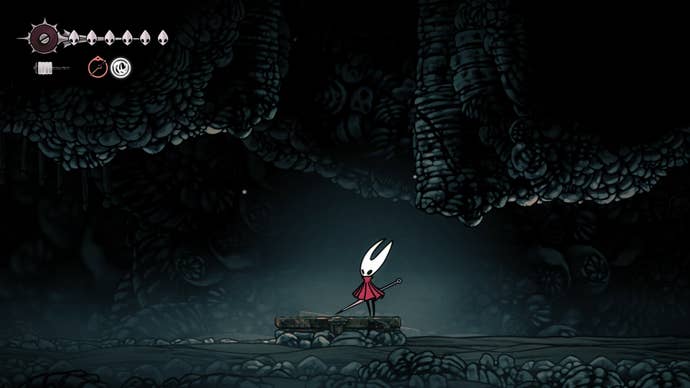
Unlock the Blasted Steps Bench and collect the Memory Locket
Now, you can keep going left of this platform if you wish but there’s nothing of note there. You will, however, reach the edge of Pharloom’s map and if you’re curious what that looks like, then go ahead.
When you’re ready to continue, use Cling Grip on the walls above the aforementioned platform. Keep right and upwards to eventually arrive at a Bench you can unlock using 80 Rosaries.
From the Bench, head left across the platforms. At the end of these few platforms, you won’t be able to keep going left, so use the Cling Grip Skill to hop over to the platform on your right.
Go over to the platform on your left to meet your first Judge enemy. Jump over him and then dash to the wall up on your left.
Keep left and go upwards, where you’ll come to two Pilgrim enemies. Jump across the golden platforms on your right to reach another stone platform with two more Pilgrim enemies.
After this, pogo across the two bells (shown below) to reach a platform with a Judge and Pilgrim on it. You can hop onto another platform to the right of them to avoid them.

Before we continue right, slide down the gap between the platform you are on and the platform that the Judge is on, keeping left. You will arrive at a lever you can attack. This lowers a golden platform that makes this area that little bit easier to access if we need to run back from the Bench in future.
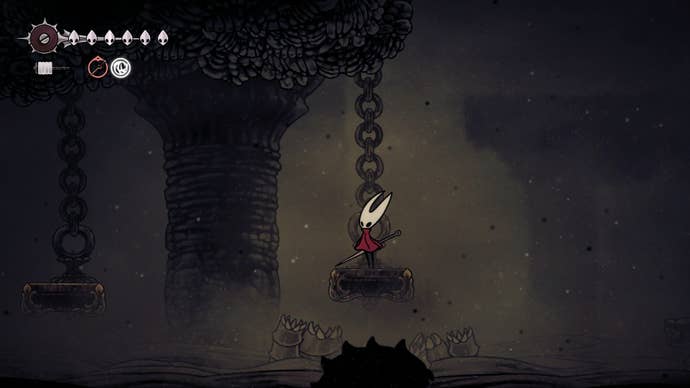
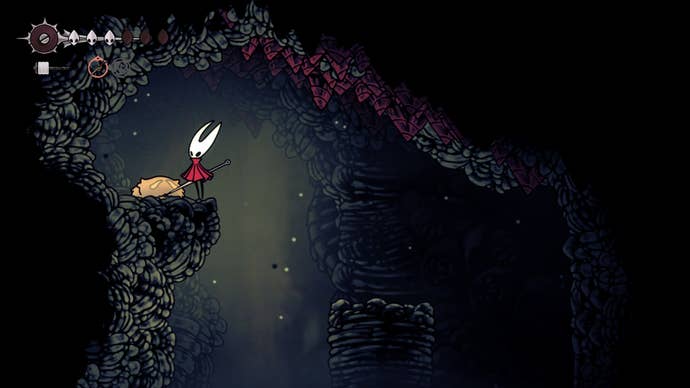
Climb back up to the platform with the Judge and jump to the platform that is right of him. Keep right until you come to a gap in the platforms again and look down (pictured below). You should see a dead pilgrim with an item on him.
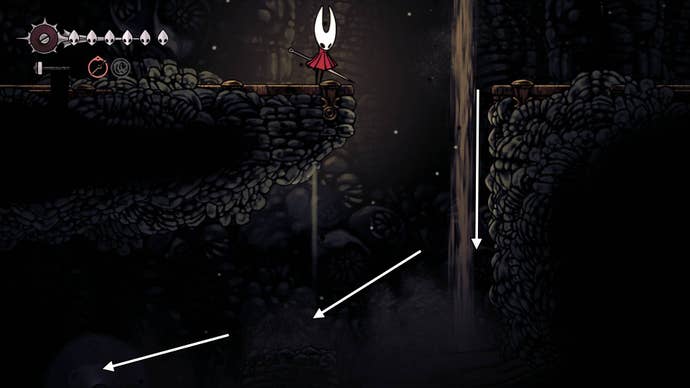
There’s enemies waiting below in the form of sandworms though. Carefully slide down the rightmost wall and dodge onto the platform to your left, then quickly dash over to the dead Pilgrim before a boulder falls on you.
Collect the item to receive your first Memory Locket. Next, it’s time to track down Shakra and finally purchase the Blasted Steps Map. Fortunately, she isn’t too far away now.
Find Shakra to purchase the Blasted Steps Map
From the Memory Locket, hop back up and keep right, exiting into a new room.
You’ll soon have your first encounter with what is my Silksong arch nemesis: a Driznit. These flying enemies will fire off projectile cones at you that then bounce off any surface they touch. They also have a habit of hovering just far enough away from you that they’re a bit of a pain to attack. Running past them is tempting, but if they follow you, their projectiles can be damning. Use your Tools and pogo off them to kill them where possible.

Go right, past the Driznit, into a new room again.
Go across the platforms to your right to find Shakra and purchase the Blasted Steps Map from her for 60 Rosaries. If you go upwards from her, another Driznit will spawn. For fun, jump back down to Shakra and she’ll take care of the Driznit for you. Thanks Shakra!
Unlock the second Blasted Steps Bench and Bellway
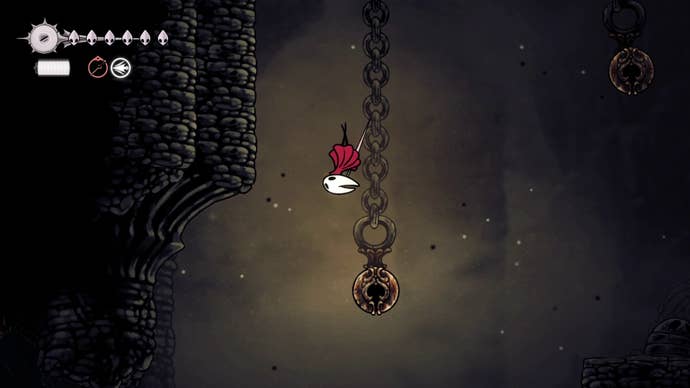
Go upwards from Shakra and dash left onto a new platform, then jump across the platforms to your left until you arrive at a bell.
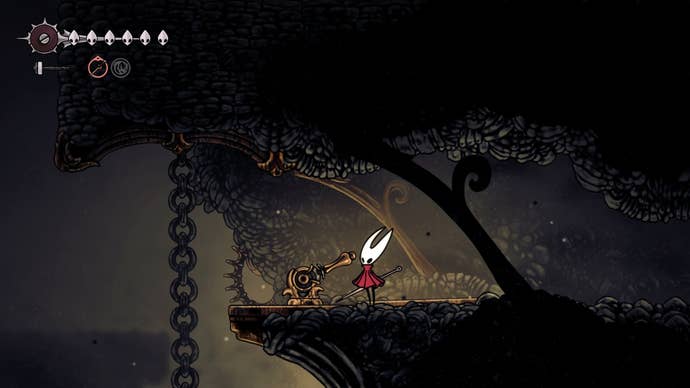
You need to pogo off this bell and climb up the wall on the left, then jump over to your right onto a platform with a Judge enemy. Jump over him and pogo off the bell to the right of him to reach another stone platform that has two Pilgrim enemies on it.
Dispatch of the pilgrims and climb up the wall on your right (pictured below).

Jump to the stone platform on your left where there is unfortunately another Judge enemy. Hop over him and keep left, pogoing across some more bells to reach the room’s exit.
In the following room, use the cages to climb up and keep left until you see a lever. Attack this lever and it will move the cages slightly to make traversing this area that little bit easier.
While in this room, you might also notice an exit on the left-hand side, below the lever. Make a note of it as we are heading there soon, but we’re going to unlock the next Blasted Steps Bench first.
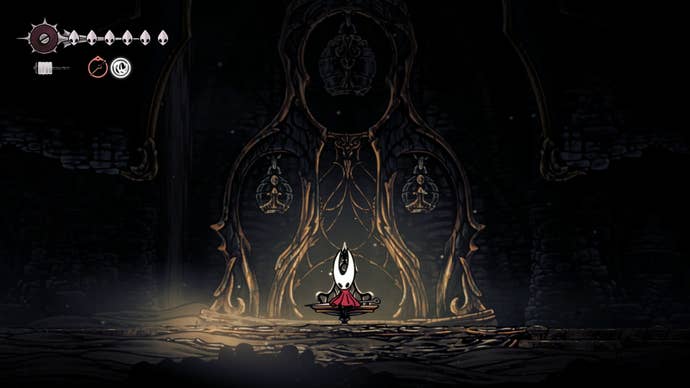
In the chamber with the lever, keep climbing up to the very top of the room. Once at the top, head left to collect the Bench for this area as well as the Blasted Steps Bellway. I highly recommend unlocking these as this is the Bench closest to both bosses in Blasted Steps.
Rescue the lost Flea
Before we finish exploring the chamber we were just in, there’s a lost Flea nearby that we ought to go and rescue first. Head left of the Bench and into the next room.
Climb up the following cavern until you come to the illuminated sign pictured below.
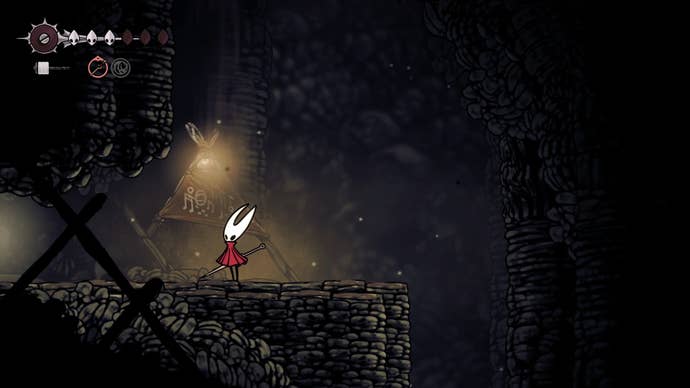
You can go left here into the next room, but there’s nothing to do there yet. Instead, continue climbing up to the top of this room and prepare for some very careful dashing and gliding between walls. This chamber is covered in spike traps but if you manage to reach the top, you’ll find a sleeping Flea waiting to be reunited with the Flea Caravan.
Gamble against Lumble the Lucky
Go back down to where we first entered this room. Instead of exiting, look down to see a cage you can jump onto.
Jump onto this cage and then head left into a new room. Keep heading left and at the end of this section, you’ll meet Lumble the Lucky. He will allow you to play a dice game with him. Win and you’ll receive four Rosaries, but lose and Lumble will receive four of your Rosaries.
This gambling isn’t in vain either. If you win against him ten times, you’ll receive the Magnetite Dice. With this equipped, there’s a small chance that you will not take damage from an incoming attack.
To be guaranteed to win, count to four or wait for 14 dice roll noises before letting go of your dice.
With that done and dusted, return to the Blasted Steps Bench that is beside the Bellway. Do you remember the exit I pointed out earlier, below the lever in the tall chamber we climbed up to reach this Bench? We want to go through there next.
Beat the Great Conchflies
In the next area, I recommend sprinting to your left and dashing across the platforms. This allows you to sprint across them safely – with Swiftstep allowing you to jump a larger distance – while also avoiding Driznit enemies.

You will very quickly arrive at a boss fight against the Great Conchflies. This fight fortunately isn’t too much trouble once you’ve attempted it once or twice, but if you need some help taking them down, here’s how to beat the Great Conchflies in Silksong.
Train with the Pinstress and unlock Needle Strike
Once you’ve beaten the Great Conchflies, keep heading left, but make a note to return to this arena after resting if you wish to meet Nuu again.
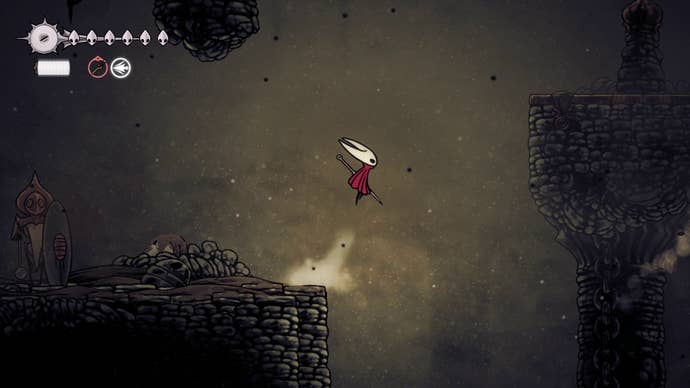
This upcoming area is very perilous as there will be some large gaps between platforms that you need to cross. Sprint before jumping to jump that little bit further and don’t forget to use the Drifter’s Cloak.
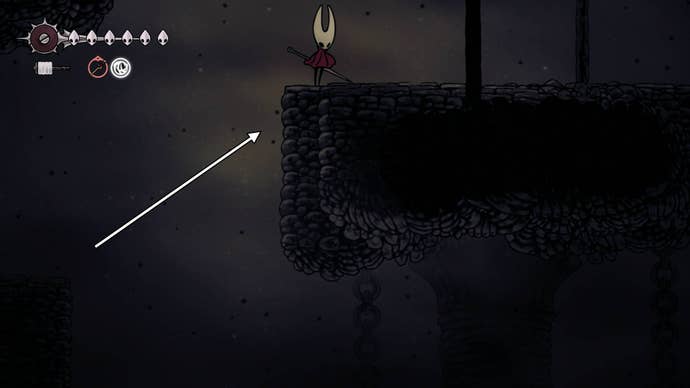
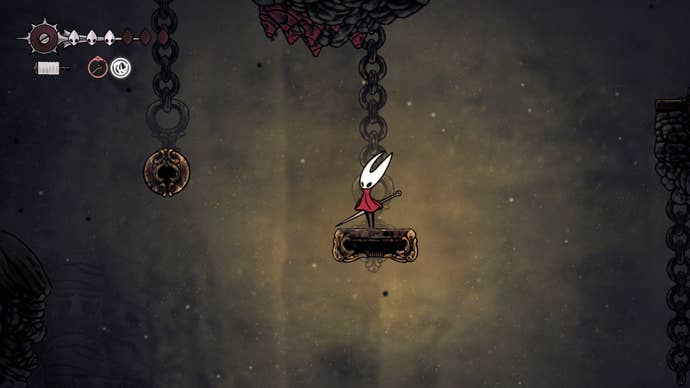
You’ll soon arrive at a final stone platform with a wooden platform on your right (pictured below).
Jump onto this wooden platform. From here, you want to go right and upwards – using the wind and your Drifter’s Cloak to your advantage – into the Pinstress’ Tent.
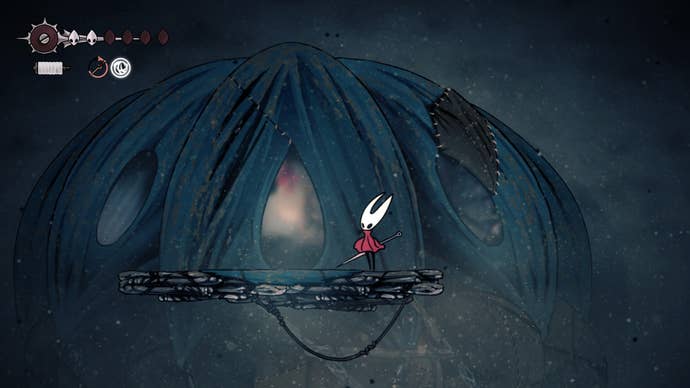
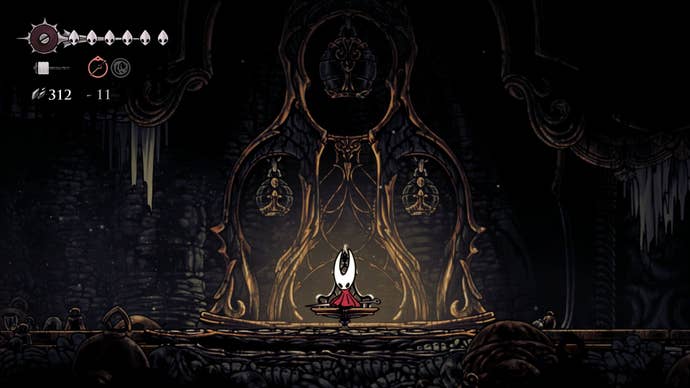
Speak to the Pinstress and she will ask if you’d like to train with her. Say ‘Yes’ to unlock the Needle Strike ability, which allows you to charge your attacks. You can also rest on top of the thread spool here.
Up next, we have one more thing to do and that’s beating a boss that will prompt us to enter Act 2. Return to the Bench that is beside the Blasted Steps Bellway and rest there.
Beat The Last Judge
Before we delve into what is a perilous runback to the next boss in Silksong, we want to make sure we have activated all five Old Bells in Pharloom first.
These are in The Marrow, Deep Docks, Greymoor, Shellwood, and Bellhart. It’s also likely that you will have activated a few of them – if not all of them – naturally while playing. Either way, once you arrive at the upcoming boss fight, you won’t be able to start it until all five Old Bells have been activated. At this point, any missing Old Bells will be marked on your map for you to collect.
You will also need to have beaten Widow and unlocked the Needolin in Bellhart to start this fight, as once all Old Bells are activated, you need to play the Needolin at the door to trigger the end of Act 1 boss fight.
With housekeeping out of the way, let’s go meet our next boss. From the Blasted Steps Bench, go right until you are outside again.
Once outside, I recommend sprinting and jumping over the upcoming platforms to avoid any Driznit enemies before they spawn. Jump up onto the golden platform then go left onto the stone platform with the Judge.
Before the Judge attacks you, jump on over to the stone platform to the right of him.
From this platform, look at the wall to your left. Sprint-jump over there and climb up it to cut out some of the enemies along this route.
Next, using the wind or some careful dashing, pogo across the bell on your right.
Jump across the upcoming platforms and bells to reach another wall you can climb. At the top, you’ll reach a platform with a frozen Judge enemy and two more bells above you.
Jump over to and pogo off the first bell, using it to reach and climb the wall on your left. Jump off the wall near the top and glide using Drifter’s Cloak to reach the second bell. Pogo off this and to your right to reach safety again.
Head into the room on your right to encounter two Pilgrims you can talk to. This is where you’ll be prompted to activate all Old Bells if you haven’t already. If you have, you’ll now need to play your Needolin to open this door, therefore summing the end of Act 1 boss: The Last Judge.
That does also mean that you will have to run past all the Driznit and Judge enemies you’ll have just encountered each time you want to attempt this boss fight. Great!

The Last Judge is ultimately the end of Act 1 boss and as a result, you’re in for a very challenging time. If you need some help with beating him, here's how to beat The Last Judge in Silksong.
With The Last Judge defeated, you’ll automatically advance into Act 2 of Silksong. You can now explore the Underworks and Choral Chambers or if you fancy a detour, check out the alternate route into Act 2 that you may have missed. This requires going to Sinner’s Road and The Mist via Greymoor.
For more on Hollow Knight: Silksong, take a look at our list of all Pollip Heart locations needed for Greyroot, our list of all Silk Heart locations, and our Silksong walkthrough.
Read this next
- Hollow Knight: Silksong devs admit it has "moments of steep difficulty" but also a "higher level of freedom" to avoid getting stonewalled
- Hollow Knight: Silksong's second patch detailed, but don't expect any balance tweaks
- Hollow Knight: Silksong is reportedly already about a third of the way to the original's total sales, with Steam leading the charge