Silksong Greymoor walkthrough
How to complete Greymoor in Hollow Knight: Silksong.

Greymoor in Silksong is a damp, dark, and very bleak section of the map. There are plenty of enemies waiting to dampen your spirits too.
For this Hollow Knight: Silksong walkthrough we've entered Greymoor using the updraft and Glider's Cloak in Far Fields, though you can also reach here by finding five Lost Fleas and returning them to the Fleamaster in The Marrow. Also, this walkthrough is from the view that you don't have the Cling Grip or Double Jump skills yet - cutting off some of the extra areas.
Without further ado, here's our Silksong Greymoor walkthrough.
Silksong Greymoor walkthrough
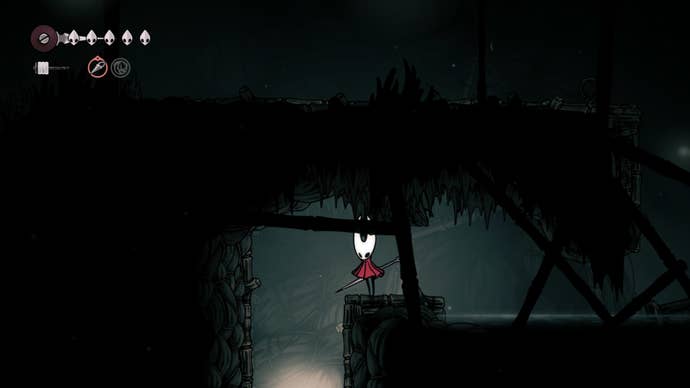
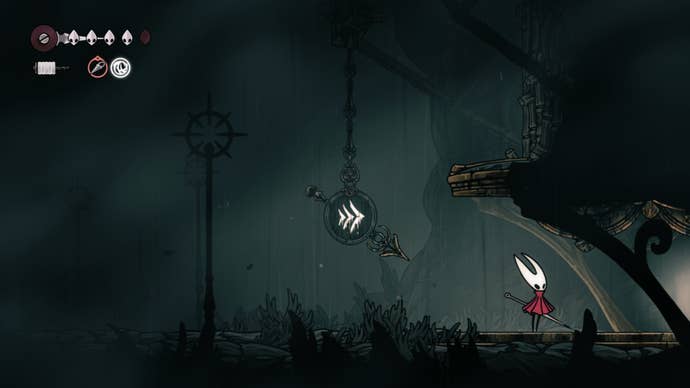
Enter Greymoor through the updraft in Far Fields, the quickest way to find it is to head for the Bellway location here. Then, exit the Bellway to the left and ride the updrafts here all the way to the top into Greymoor.
Find Shakra
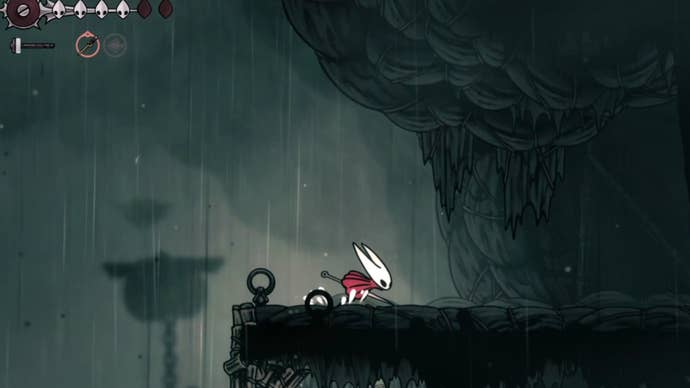
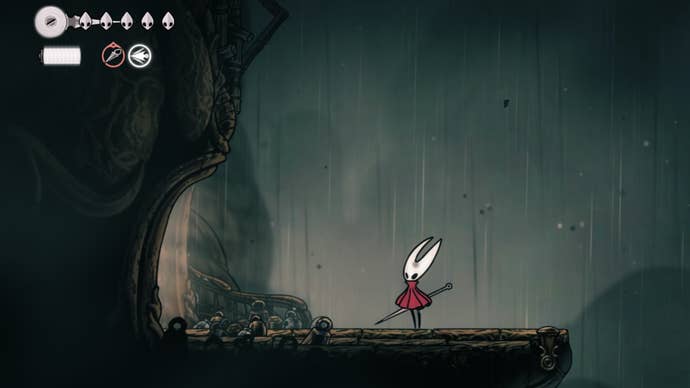
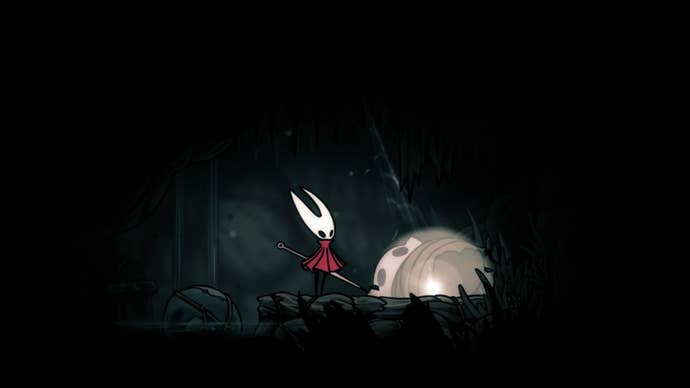
After you land in Greymoor from the updraft, head to the right and keep following the path here until you drop down to find Shakra. Buy the Greymoor map from her for 70 Rosaries - you'll need it.
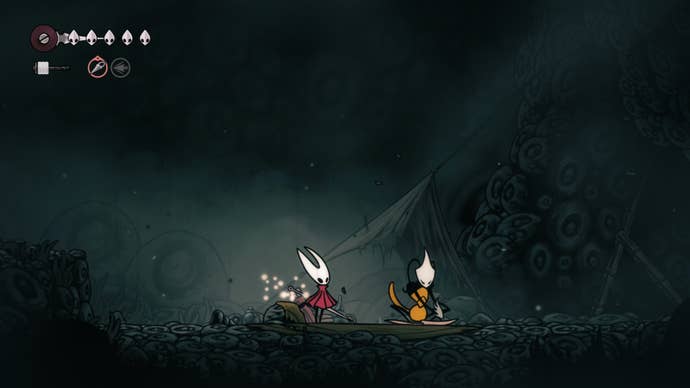
Before you do anything else, we recommend resting next to Shakra too. This gives you a safe space to return to if you die (like a Bench.)
Survive the Craw Lake Gauntlet
Despite our many many (many) attempts at the Craw Lake gauntlet, it’s not impossible and surviving it will give you the chance to reach a handy new Crest!
So, from Shakra, keep heading to the right towards Craw Lake. We recommend stopping to fight any enemies you encounter along the way (mainly birds) to get used to dodging them, this will be vital during the gauntlet.
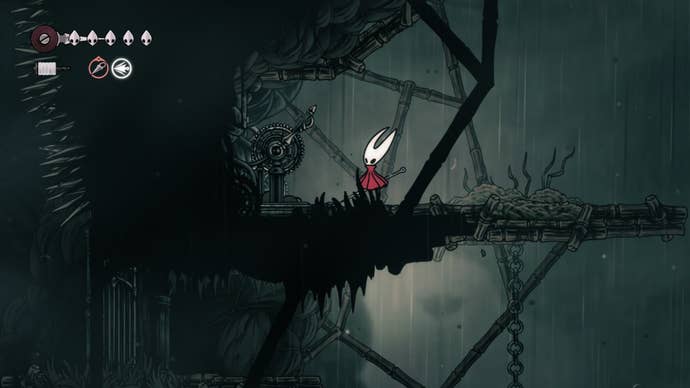
Keep heading right until you come to a house behind a gate. To reach the house you need to get onto the platform above it, head to the right, drop down and head back left to get into it. Also, hit the lever by the door here to open the gate - this will give you an easier path back if anything happens.
Now, head into the building and then keep heading to the right. Once you can't get any further, start climbing upwards until you end up going back on yourself into a large area. This is the gauntlet.
It took us multiple attempts to pass this, so don't worry if you can't do it the first time. The key here is to be patient with your attacks and focus on dodging. There will mostly be two enemies at a time, and of course most of them will fly too. If you're struggling, check out our page showing you how to beat the Craw Lake gauntlet.
When you pass the Gauntlet, pogo up to the top floor of the house and hit the switch here to activate balloons around the lake area. Now, head back the way you came until you're back outside the building again - it's time to find a Lost Flea. However, at this point, you can head back to Shakra to rest and save, we highly recommend doing so as well as buying anything you need from her because she'll soon move.
Find the Lost Flea
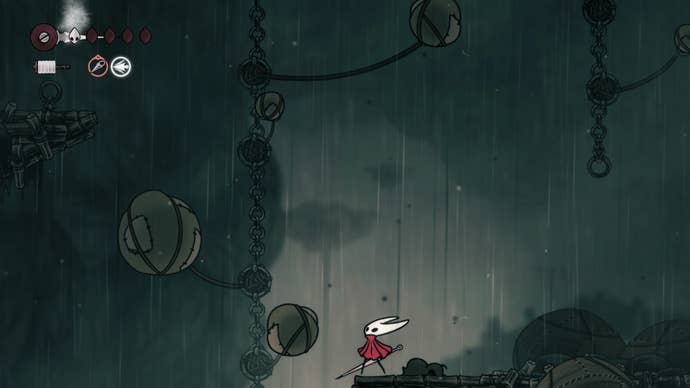
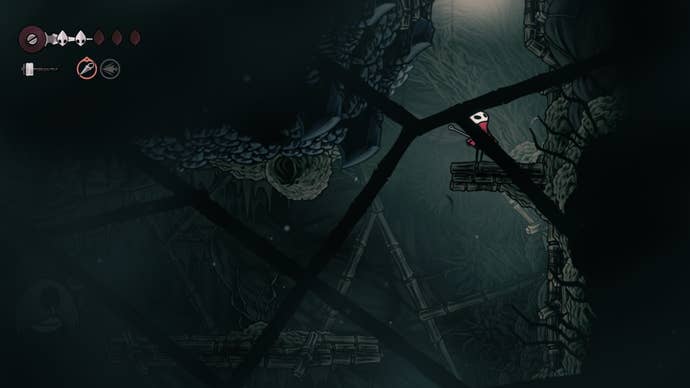
When you've exited the building, head left then pogo off the balloons until you get to the platform above the building. There will be another knife-throwing enemy here, we recommend getting rid of them before continuing.
Then, from this platform, continue to pogo up the balloons in the middle until you reach the first big on the right.
From this balloon, pogo off to the right onto a platform here. You can dodge the enemy on here (no need to fight if you don't want), then follow the path to the right then down and back on yourself.
Climb up here to the left and you should find the Lost Flea.
Activate the Bench
Now, head back to the platform above the gauntlet building again. From here, pogo up to the next platform on your left with two smaller bird enemies on it. Get rid of them first before pogoing up to the platform on the left.
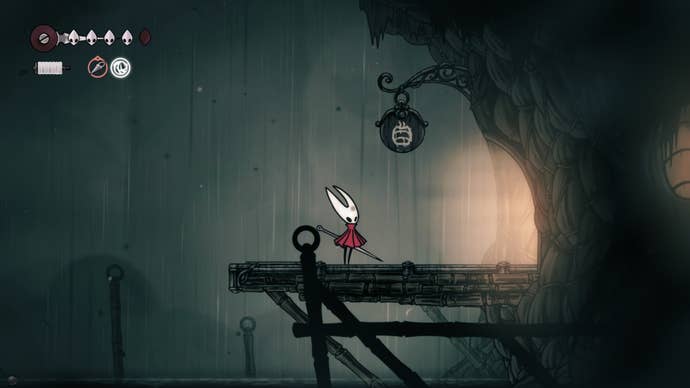
From here, follow the path to the left (you should see a sign here) and into the next area. You should come across a lever near the edge eventually. Attack this lever to activate it and a set of balloons will lead back down to where Shakra was - but don't go down here yet!
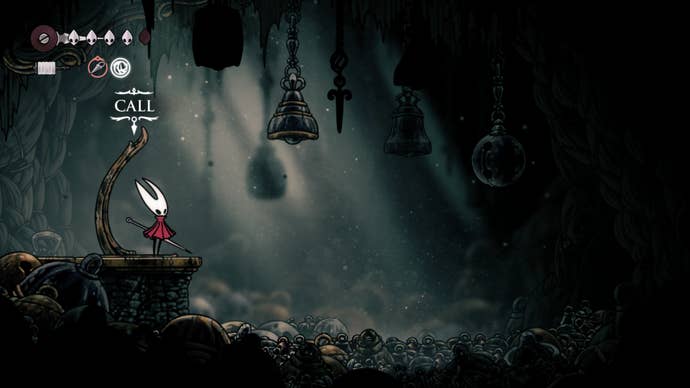
Instead, use the balloons to pogo across to the ledge on the left and walk through the doorway here into a smaller room. Interact with the bell here to activate the bench, then sit and rest at it. Shakra will now be gone from her previous spot, so you really need to rest here (even if your masks are full).
Get the Thread Storm Skill
Now it's time to get the Thread Storm Skill. To do this, head back the way you came towards the main part of Craw Lake again. Once you're on the ledge leading back into Craw Lake, use the nearby balloons to pogo up to the platform on your left with a lever on it.
Attack the lever to activate it then glide down underneath the ledge, you should see another one to the left here, then pogo off the nearby balloon and dash back onto the ledge. If you fall off or down here, just pogo all the way back up.
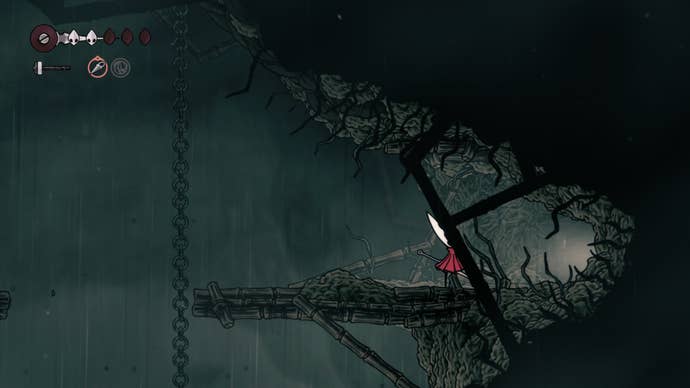
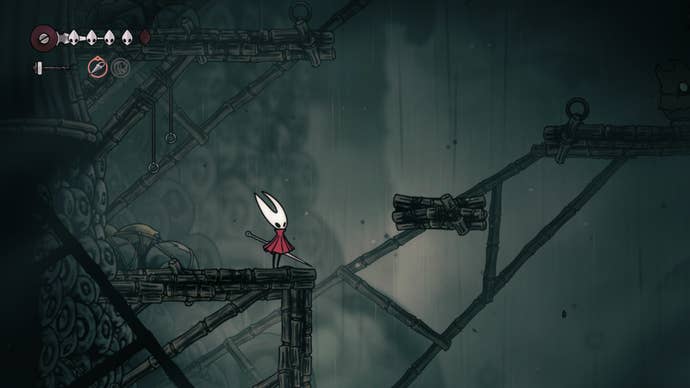
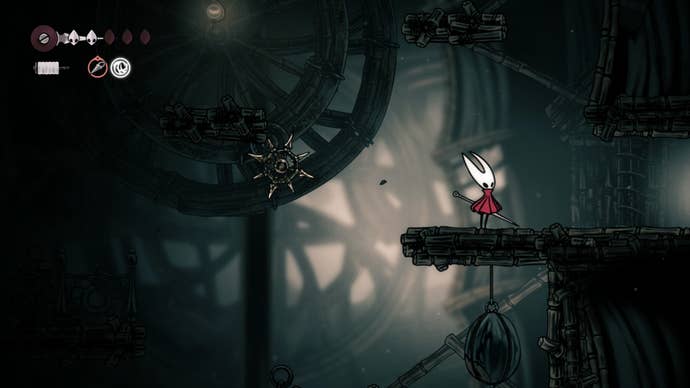
Now, once on the ledge, head left and you should see a shaft of spikes here with balloons leading up the middle.
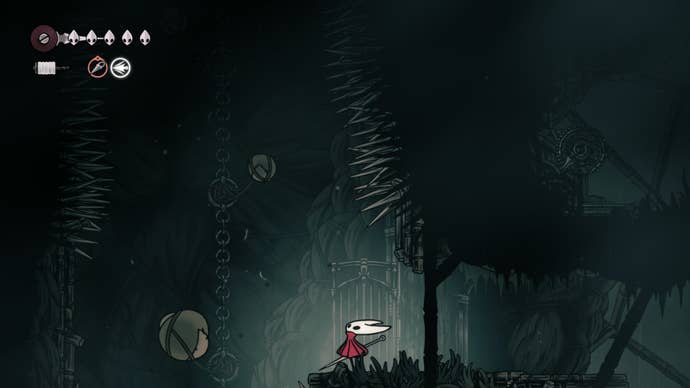
Pogo up these and onto the platform on your right. Deal with the enemy here to clear the path, then walk right to the edge and make your way upwards to the right to find an exit in the ceiling.
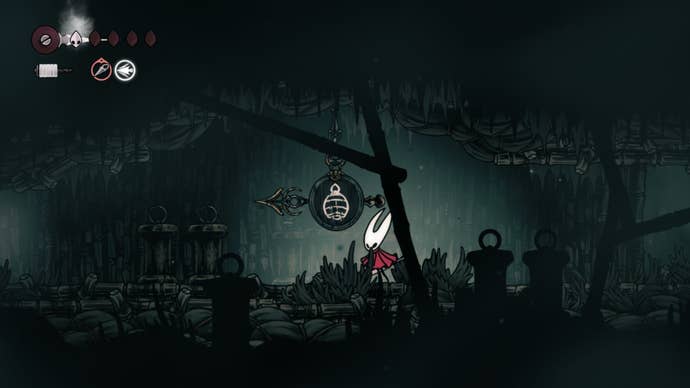
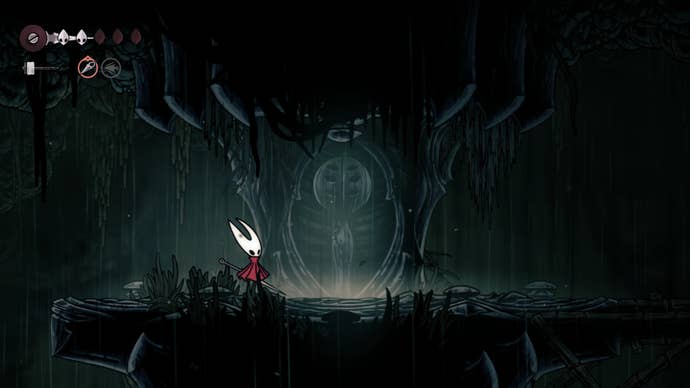
Go through this exit then follow the path here to pogo all the way up to the statue you can interact with. Do so to collect the Thread Storm Skill - one we highly recommend getting and using because it's proven quite effective against the rest of the enemies in Greymoor.
However, it's worth noting that this will replace your Silkspear ability and you can’t use both at the same time.
Collect the Threefold Pin (optional)
Now, head to the right and deal with the enemies along the way. We recommend using your new Thread Storm skill to get used to its range and how it works against the smaller enemies here.
Follow the path along to the right, down and then back to the left until you come to a false wall. Attack it to break it open. Then, from here, carefully float back down and out the exit back to Craw Lake's main area.
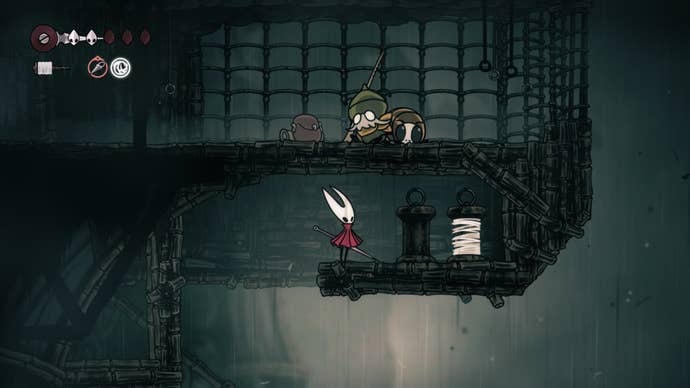
Now, from this platform, carefully float down until you see a platform to your right with a spear-wielding hooded enemy on it. Make your way to this platform, deal with the enemy here then walk through the wall behind them to collect the Threefold Pin.

Head to Halfway Home
Make your way back to the Bench, rest and save, then get ready to move on to the next part of Greymoor.
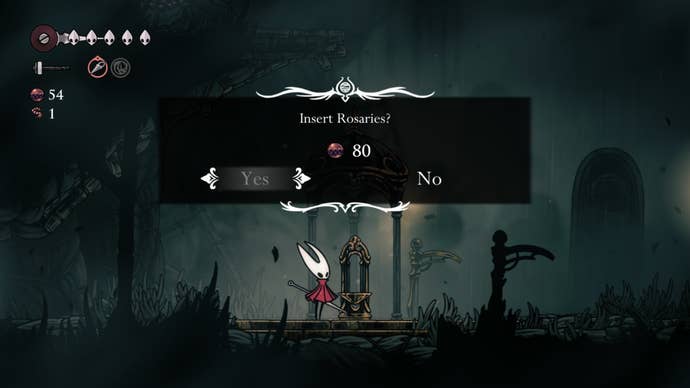
From the Bench, head left and back down to the point you entered Greymoor from Far Fields. Hop over the updraft gap and keep heading left, you'll encounter a device here that will give you a Rosary String in exchange for 80 Rosary Beads.
Continue following the path left into the next room where you'll encounter some pilgrims. Deal with them but, instead of following the path, drop into the water here and keep heading left to find a secret drop-down point.
Head down here then keep going to the right, you'll eventually find a pilgrim's body with a Bone Scroll on it. Collect this then head back up to where you just found the pilgrims and continue left.
You'll soon come across a pilgrim trio, deal with them before moving on to get some more Rosaries. Keep going into the next area where you'll soon see a building, but you can't get into it from this side. So, instead, climb the platforms here to reach the one on top of the building then head left and drop down.
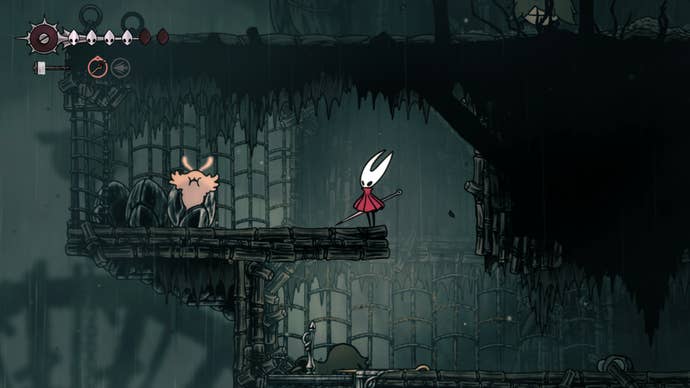
Now, go right and into the building here. Head inside, you can speak to Creig behind the counter, stand on the switch to the right of him to open the right doorway, or climb to the bed above to rest like you would at a bench (we recommend all three.)
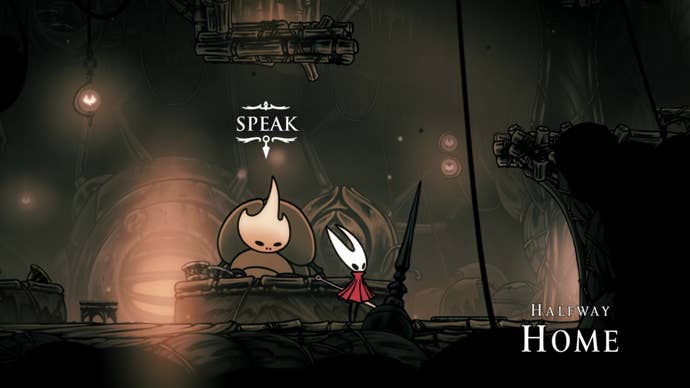
However, that's not all that's here, climb all the way to the top of the building to meet the ever-adorable Nuu and unlock the Bestiary!
Survive another Gauntlet and unlock the Bellway
If you've not rested yet at Halfway Home then please do so now, because another gauntlet is up next and we all know by now how they can be.
When ready, exit Halfway Home and head left into the next room where the gate will shut behind you. Behold - the gauntlet. The first part of this one is pretty easy, we recommend pogoing on the first two enemies and saving your Thread Storm ability for the third.
The third enemy is where you might come a bit unstuck as they can throw their pitchfork-like weapon at you as well as land on you and spear you with it. We recommend pogoing this enemy when they’re on the ground, then when they jump to throw their spear use your dash to get under and past them. Do not stay underneath them - they will do a lot of damage if they land on you.
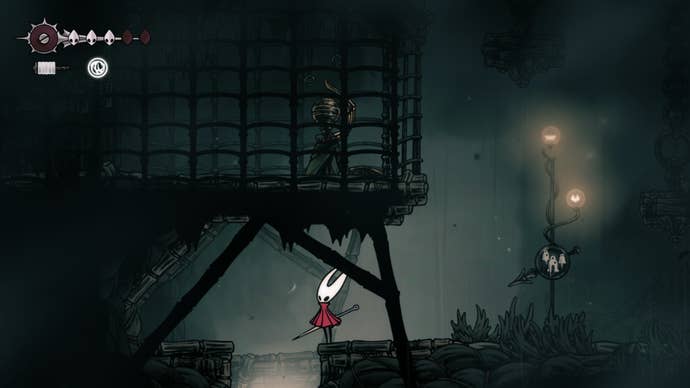
When you've completed this gauntlet, continue heading to the left into the next area where you should notice new flying enemies hanging around here. Your goal? Drop down to the area below and head right.
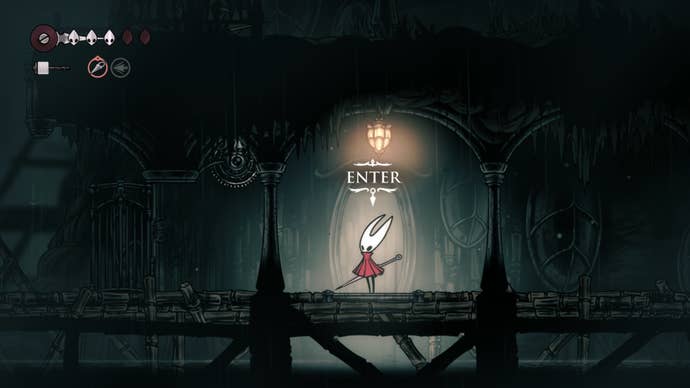
Keep heading right in here and you'll come to the Greymoor Bellway Station. Activate it if you have enough Rosaries:
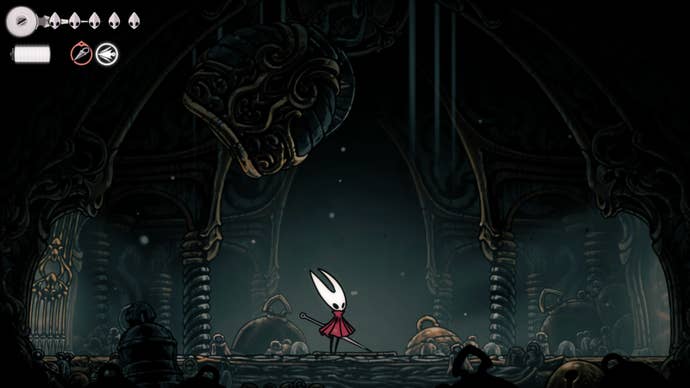
Go to the Chapel of the Reaper
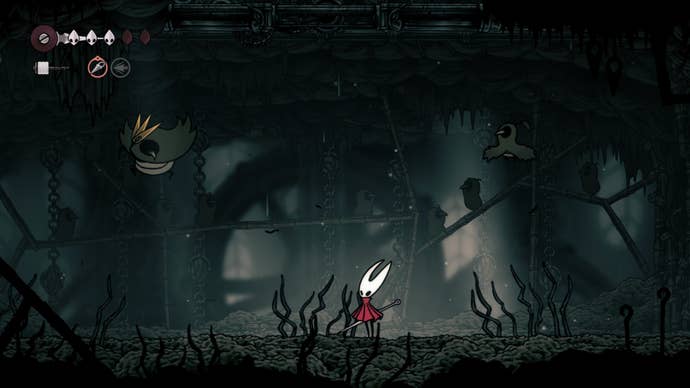
It's time to get the Reaper Crest. Now, head back the way you came and keep heading to the left - you can engage the enemies here or dodge them, it's up to you. When you're on the far left side of the room, jump onto the ledge above the exit.
Climb up the platforms here, sticking to the left side and you should find a platform with Silk on it with an NPC napping above.
Grab the Silk then head back down to ground level then out to the left into the next area. Here, jump up to the right and climb the platforms here until you come to the first higher ledge on the right, exit through the door here if you want to speak to that sleeping character (recommended if you want to take on Moorwing later.) If not, then continue making your way upwards.
At the top of the spike wheel, head to the platform on the left and through into the next room here.
In this room, use your dash to head left and dodge the enemy here, drop down then dash to the right until you drop down again to dodge another enemy with scissors (trust me, you’ll need all your HP for the Reaper’s Chapel so avoiding fights where you can is advisable.)
Drop down to the platform underneath the enemy that swings the spikey spear to the left and head left, you should find you can drop down. You'll know you're in the right spot because there will be candles on the wall.
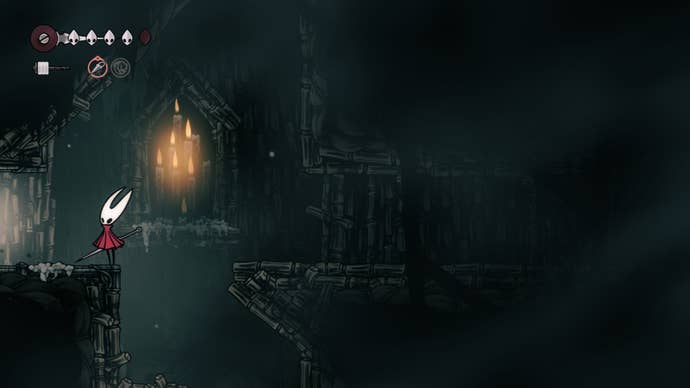
At the point you can see the candles, head left and into the Chapel of the Reaper.
Make your way through the chapel and to the gauntlet at the end. Compared to others you've done so far in Greymoor, this one should be relatively easy (especially with your Thread Storm ability.)
We recommend using pogoing as your main form of attack and using your Thread Storm ability on the centipede-like enemy with the pitchfork and against the ones wielding scissors.
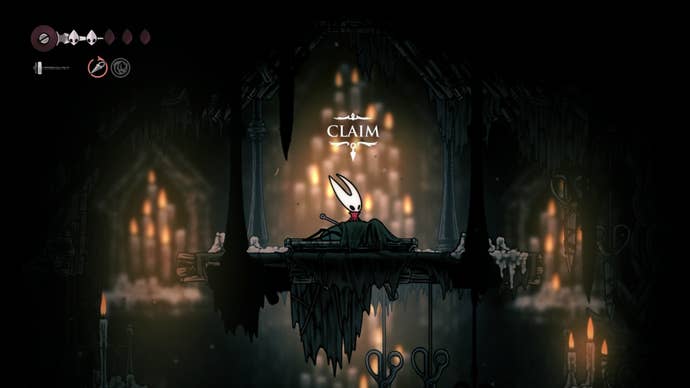
Once you've cleared the gauntlet, head upwards to collect the Reaper's Crest.
Find the Flea Caravan/Fight Moorwing
Now, head back out of the Chapel and to your right then drop all the way down the small gap to your right. Be mindful here, there's a scissor-wielding enemy waiting for you - get past them to the platforms hanging from the chains.
Here, drop down and head left down the small opening here. Once through, head to the right and cut the roped platform here to make it drop down. Head down here then to the left but, be warned, a choice you’ve made earlier in the game will have an impact here.
If you've rescued five Fleas and given them to the Fleamaster in The Marrow, then the Flea Caravan will be here giving you a nice ending to Greymoor. In fact, it's the way we recommend going if you don’t feel like a boss fight.
If you want a boss fight, and don't want to look for Lost Fleas, then check out our how to beat Moorwing boss strategy guide!
However you choose to approach this area, this is the end of Greymoor. When you're ready, head left to reach Bellhart.
That's all for now! If you're looking for more Silksong help, check out our Tool locations, Bellway locations, and our Wishes locations pages.
Read this next
- Hollow Knight: Silksong devs admit it has "moments of steep difficulty" but also a "higher level of freedom" to avoid getting stonewalled
- Hollow Knight: Silksong's second patch detailed, but don't expect any balance tweaks
- Hollow Knight: Silksong is reportedly already about a third of the way to the original's total sales, with Steam leading the charge