Silksong Lost Flea locations
Where to find the Lost Fleas in Hollow Knight: Silksong.

Finding The Lost Flea locations in Silksong will help you complete one of the many side quests you can pick up on your adventure through Pharloom.
The Fleamaster has lost their beloved Fleas in Hollow Knight: Silksong, and Hornet's been asked to free them (once found of course.) There are a total of 30 Lost Fleas to find in sets of five, and they're quite spread out so you will need to do some hunting…
On that note, here's our in-progress Silksong Lost Flea locations, including how to start The Lost Flea.
On this page:
Silksong Lost Flea locations map at a glance
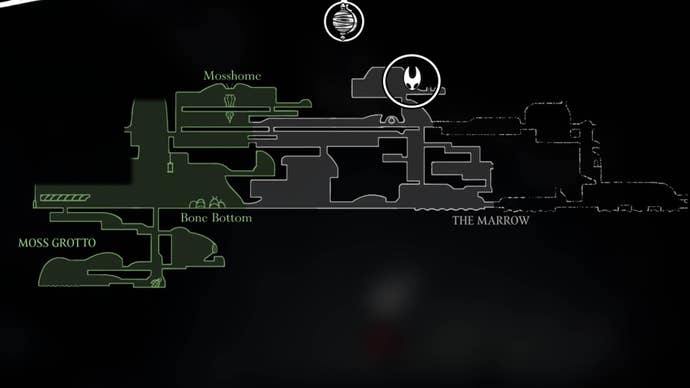
At a glance, here's a map showing you the Silksong Lost Flea locations, thank you to our friends at Map Genie for letting us use this map:
Silksong Lost Flea locations
There are 30 Lost Fleas overall and you need to collect five at a time. They're spread out across Pharloom so don't be disheartened if you can't find them all right away - this is a bit of a long-haul quest.
| Flea Number | Location | Found |
|---|---|---|
| 1 | The Marrow | |
| 2 | Deep Docks | |
| 3 | Deep Docks | |
| 4 | Deep Docks | |
| 5 | Far Fields | |
| 6 | Far Fields | |
| 7 | Hunter's March | |
| 8 | Wormways | |
| 9 | Shellwood | |
| 10 | Bellhart | |
| 11 | Greymoor | |
| 12 | Greymoor | |
| 13 | Greymoor | |
| 14 | Blasted Steps | |
| 15 | Sinner's Road | |
| 16 | Bilewater - Exhaust Organ | |
| 17 | Bilewater | |
| 18 | Bilewater | |
| 19 | Whispering Vaults | |
| 20 | Choral Chambers | |
| 21 | Choral Chambers | |
| 22 | Underworks | |
| 23 | Underworks | |
| 24 | Sands of Karak | |
| 25 | Sands of Karak | |
| 26 | The Slab | |
| 27 | The Slab | |
| 28 | Mount Fey | |
| 29 | Memorium | |
| 30 | Putrified Ducts |
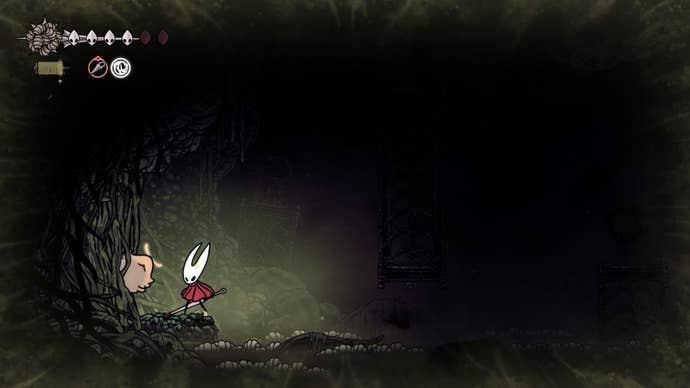
Flea One - The Marrow
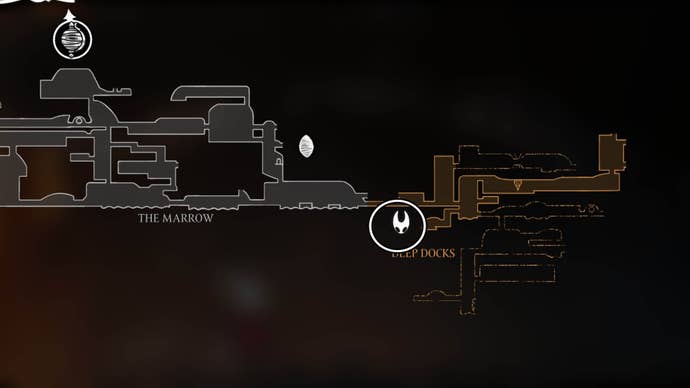
The first Lost Flea can be found in The Marrow after beating the Bell Beast. We've marked their location on the map below:
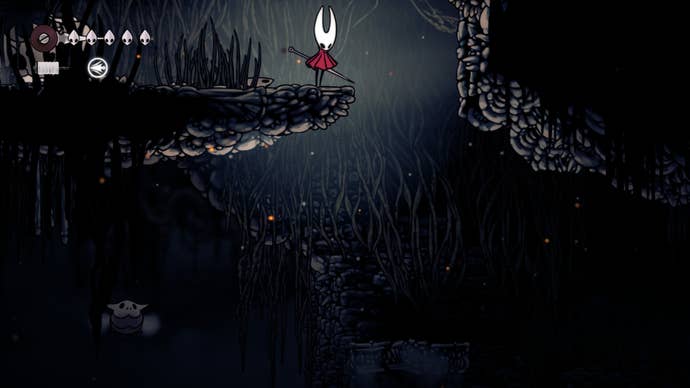
Once you've defeated the Bell Beast, keep heading right (activating the Bench you pass on the way) and then keep heading right until you see a lever with platforms above it.
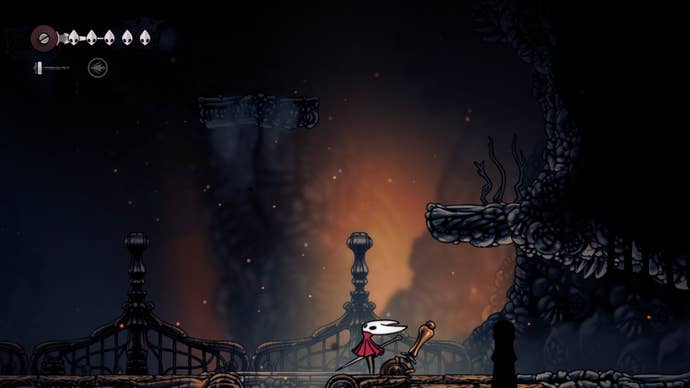
Climb up these platforms and follow the path here upwards until you reach the next area. In this next area, head left until you come to some spikes on the ground. Be mindful of the enemies here and navigate the platforms to the left, then head upwards. When you can't get any higher go right until you reach the larger platform with the skull spider enemy on it.
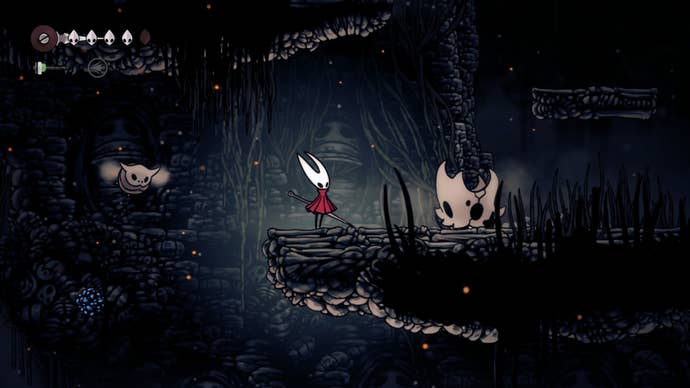
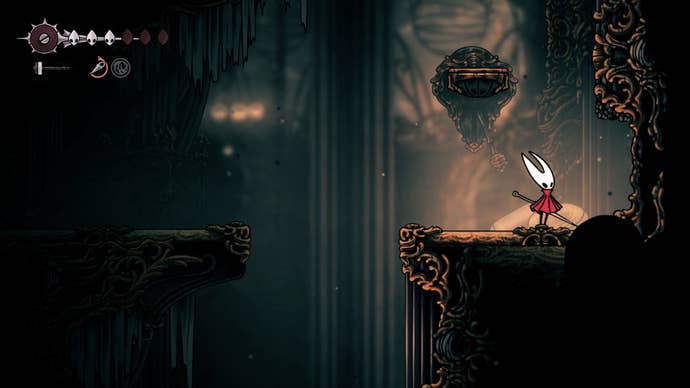
From this enemy, head upwards, to the left then up and across to the right. You will encounter yet another spider-like enemy on a big platform. On this platform, head right to the edge and stop. Pan the camera down to see a small ledge below you, carefully drop down here.
Once you land on the ledge, head across to the right and you'll soon find your first Lost Flea. Attack the tangled mess they’re stuck in to free them.
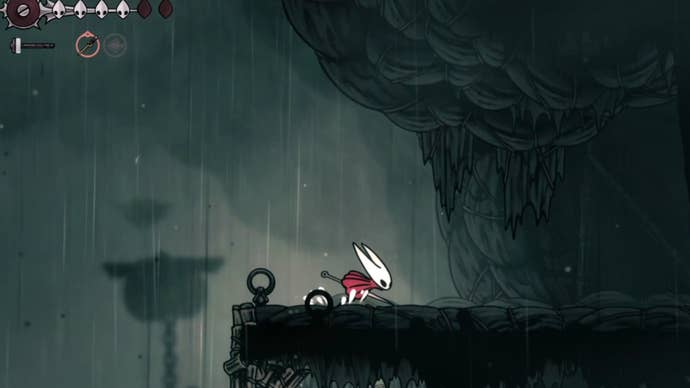
Flea Two - Deep Docks
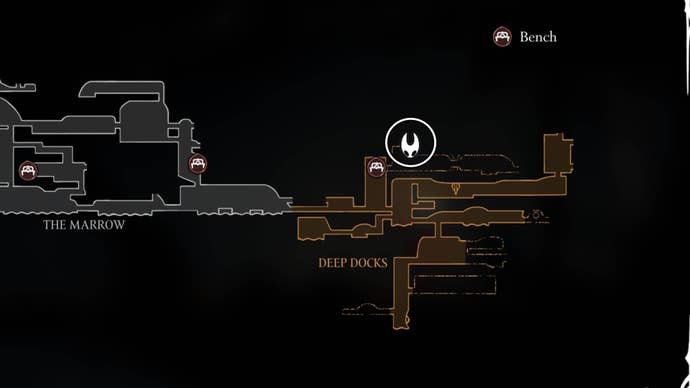
You can find the second Lost Flea when you enter Deep Docks from The Marrow. You can find their location marked on the map below:
Head into Deep Docks then drop down to where you find Shakra here, then take the passage to the left that leads you to the Bellway. Cross to the opposite side of this area and attack the wall here to reveal an opening.
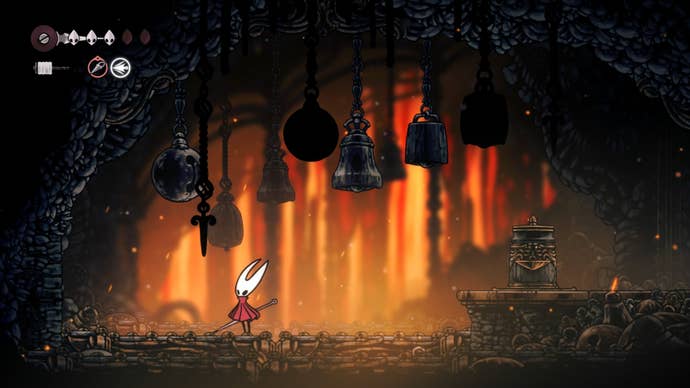
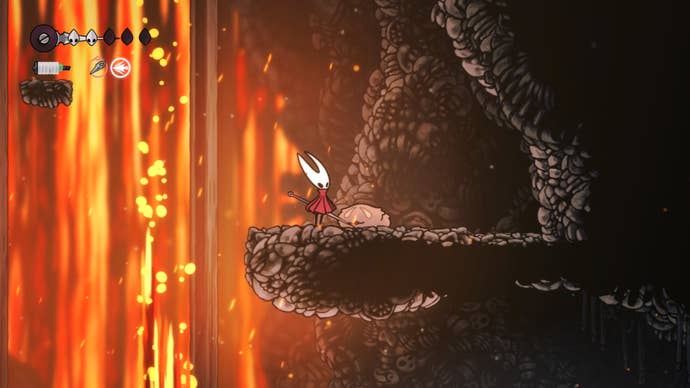
Head through the opening to an area where large streams of lava are falling from the ceiling. To find the Lost Flea you need to use these platforms to climb upwards to the left side of the room. Wait for gaps in the falling lava to move.
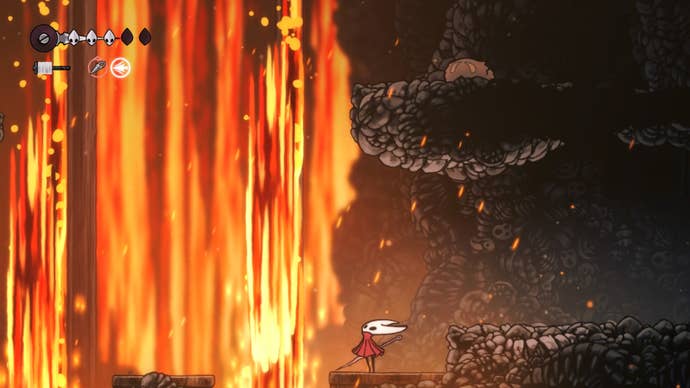
Once you've made your way up and across to the left, look to the right to see another platform. This time, you need to follow the platforms here to the right by again timing your jumps with the gaps in the lava.
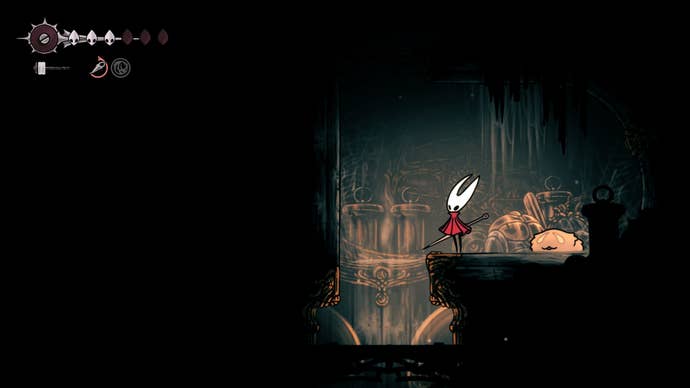
When you've made your way across the platforms you should be able to hear the Lost Flea. On the smallest platform before a lava stream, look down with your camera and you should see the platform to the right with the Lost Flea on it!
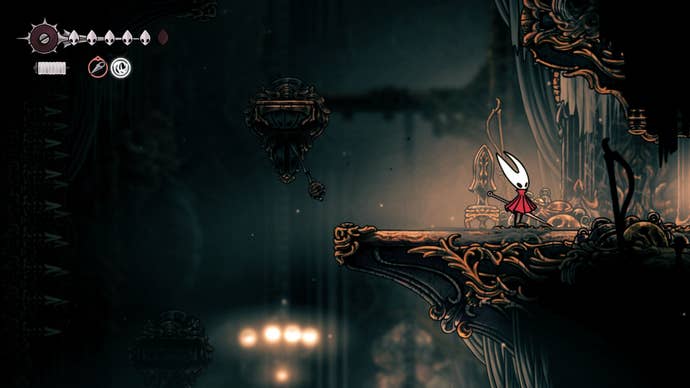
Flea Three - Deep Docks
To find the third Lost Flea, head to the point in Deep Docks where you get the Swift Step ability (which is basically a dash ability). You can find the Flea's location marked on the map below:
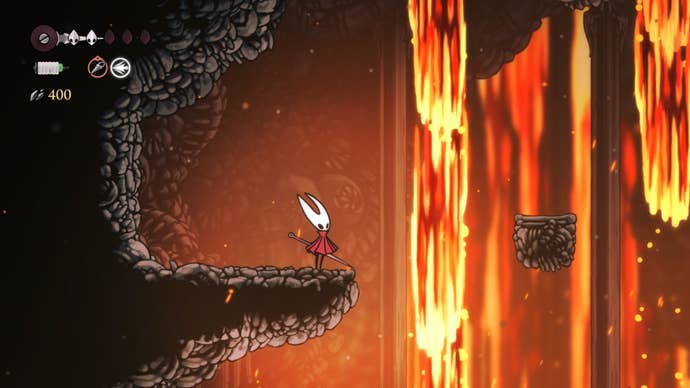
From the point you get Swift Step, head to the left and use your new 'dash' ability to get across to the next floating platform here. Keep doing this to follow the platforms to the left, until you come to one with a lever on it.
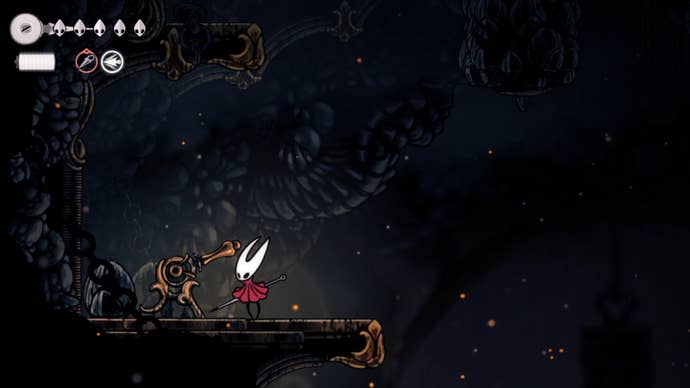
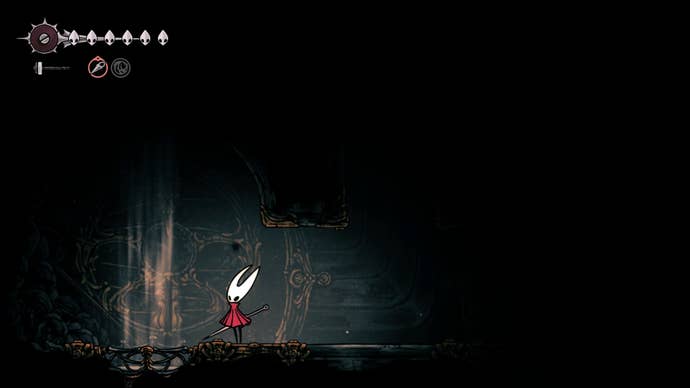
Attack the lever to get it to lower a platform to your right. Jump onto this platform then use it to jump upwards to the left and then jump across to the right. You should see the Lost Flea stuck here.
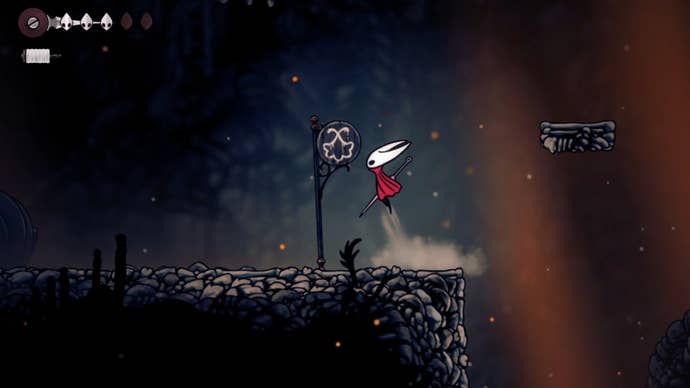
Flea Five - Far Fields
To find this Flea in Far Fields you need to head to Pilgrims Rest. Check out our Far Fields walkthrough to help you get there.
From Pilgrim's Rest, go back on yourself and head left until you reach the room with the red ant enemies in it. Keep heading left in this room until you can jump up and then head to the right, on the platform to the right here is a false wall. Attack it to head through.
Once you're through to the next area, jump up onto the first platform on your right. Keep heading forwards up here and you'll get trapped in a cage. Attack it quickly to break free and deal with the ant enemy here.
When you've squashed the ant, head along to the right and attack the cage to free the Lost Flea.
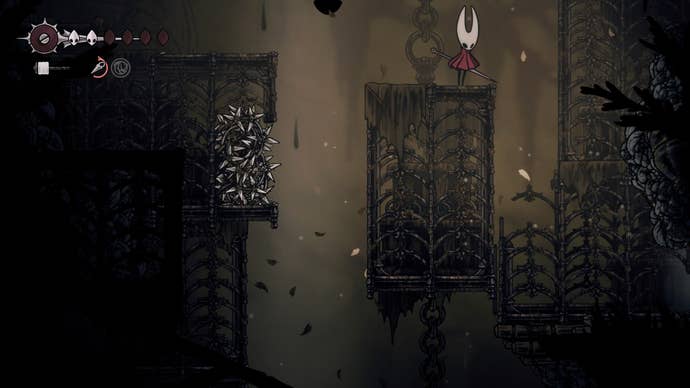
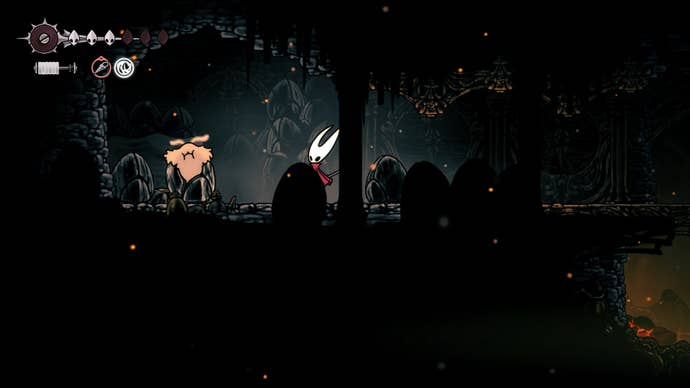
Flea Seven - Hunter's March
When you've beaten the Skull Ant, head through the newly revealed doorway and follow the path upwards. You will need to pogo on red berries here, so don't worry if it takes a few attempts.
After pogoing up two sets of berries, you'll reach a central platform where you can go to the left or to the right. Here, to get the Flea, you'll want to pogo up to the left.
Follow the path upwards now and to the right, you should find the Lost Flea here.
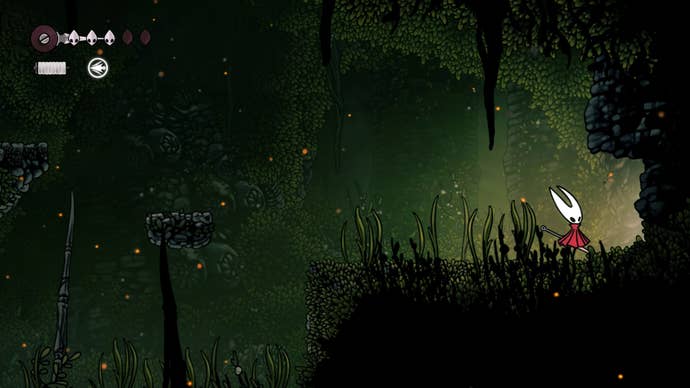
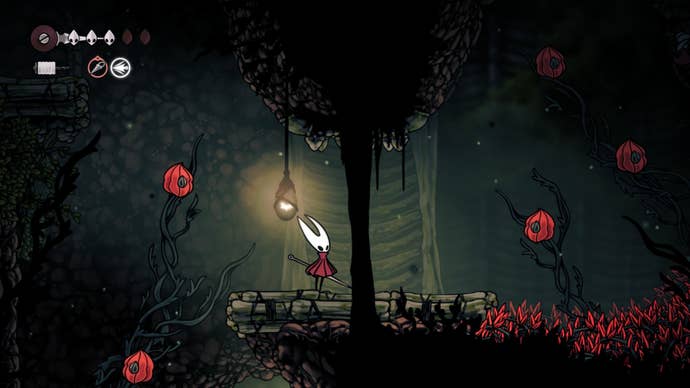
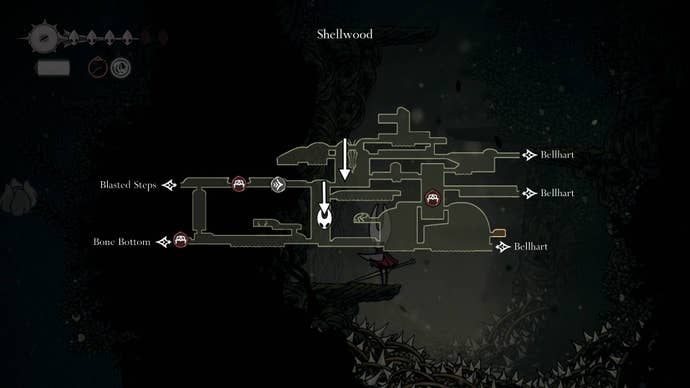
Flea Nine - Shellwood
When you finally reach the altar that allows you to unlock the Clip Grip Skill in Shellwood, the lost Flea is just a short walk away.
Dive to the very bottom of the room where you unlock Clip Grip, using your Drifter's Cloak to avoid enemies and spike traps below. Exit the room to the left and very carefully platform down the right-hand side of the following chamber. At the very bottom, there's a breakable wall you can destroy to free the Flea here!
The route from Clip Grip to the lost Flea is labelled on the below map.
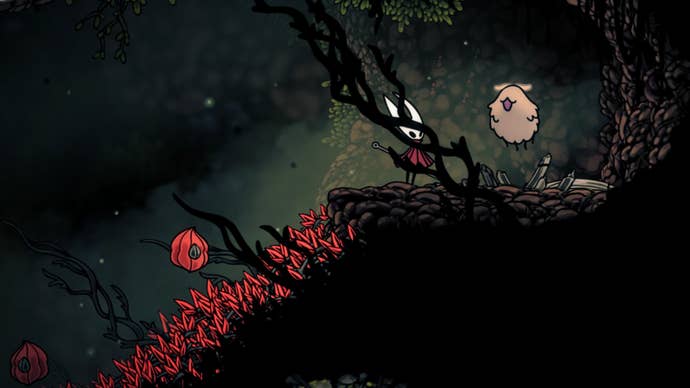
Flea 10 - Bellhart
There are three entrances into Bellhart via Shellwood, and we want to use the northmost one. This means riding the elevator up from the central Bench in Shellwood, platforming to the right of the next room, and exiting into Bellhart's bellveins.
In the following passage, you'll need to attack bells to clear a path. You'll also run into Furm and Winged Furm enemies here and will want to make use of Cling Grip to safely get past them.
When you reach the first Winged Furm (a huge flying dust mite with a bell helmet), kill it and use the Cling Grip Skill to go upwards and left. In the area you come to, you'll find your lost Flea.
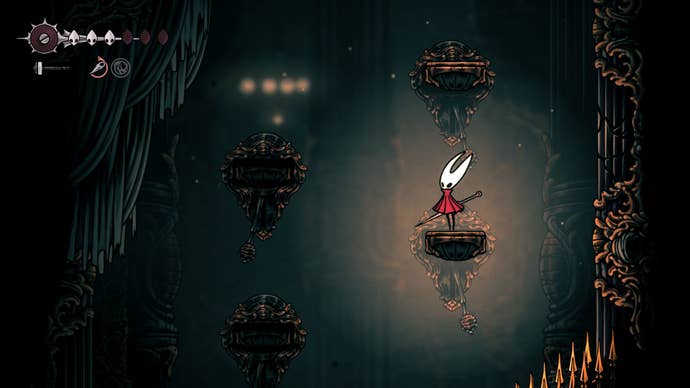
Flea 11 - Greymoor
Head to the point you find Shakra in Greymoor then keep following the path to the right until you head into a building. Follow the path down, along to the right, then up in here to come to a gauntlet.
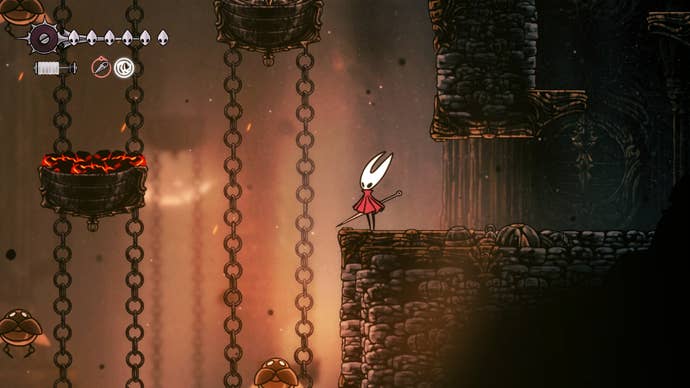
Once you've cleared the gauntlet, head back outside and to the right. You should now see balloons have appeared over the water here on the chains. Pogo off these to head upwards onto a platform on your left - deal with or dodge the enemy here - then keep heading left until you come to more balloons.

Pogo up these too upwards and then to the right to pogo onto more balloons on a chain. Pogo up these until you reach the bigger balloon, then pogo off this and dash to the right to land on the platform here.
Now, be careful of the enemies here as you head right and then drop down. Instantly follow the path to your left and jump up onto the platform here to find the Lost Flea.
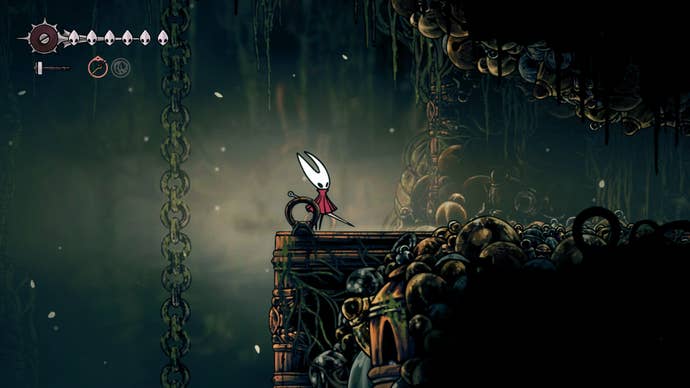
Flea 14 - Blasted Steps
The Blasted Steps lost Flea is just a short walk from the Bellway in the area.
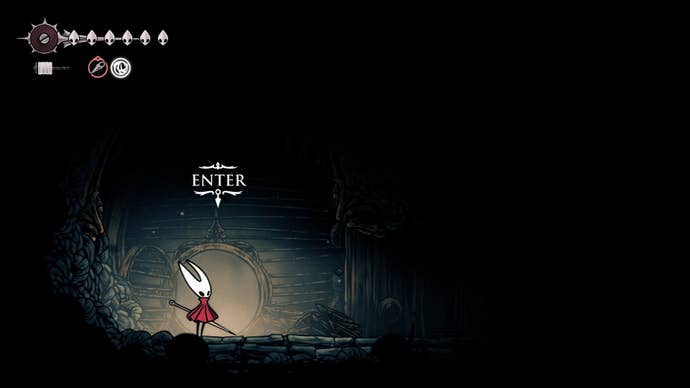
From the Bellway, head left into the next room. Climb up the following cavern until you arrive at the illuminated sign pictured below. There isn't anything to do in the room left of this sign just yet, but you can keep climbing upwards.
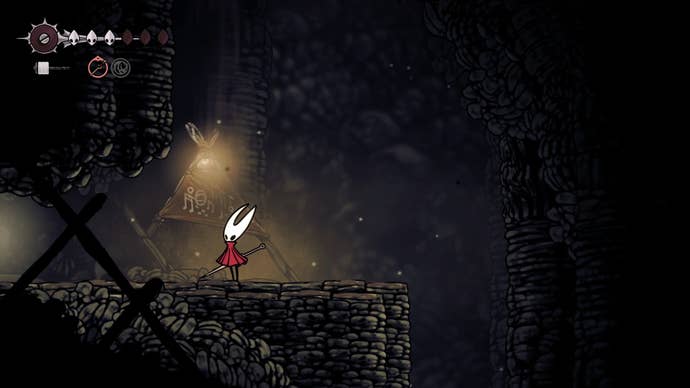
What ensues is a horrible chamber full of spiked hazards you'll need to avoid while climbing, but at the top, your lost Flea awaits freedom.
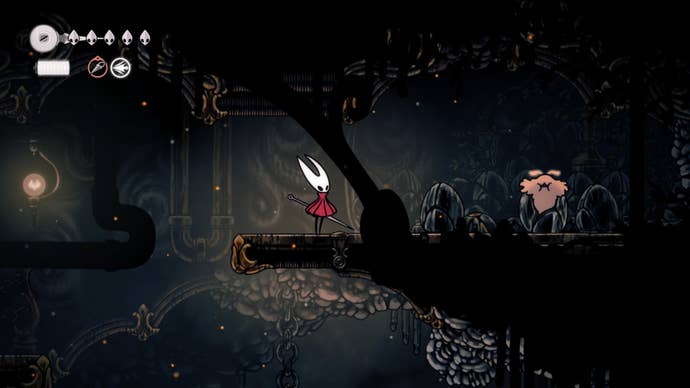
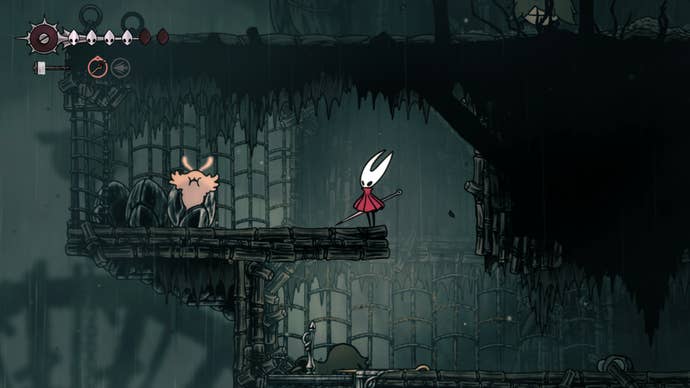
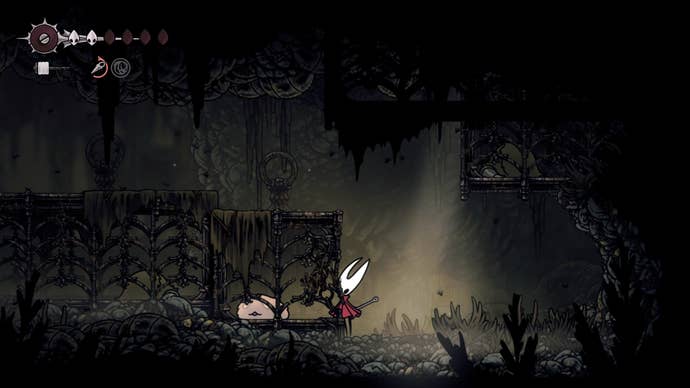
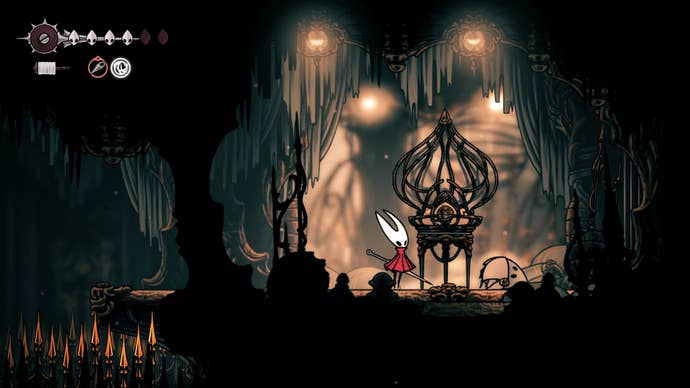
Flea 15 - Sinner's Road
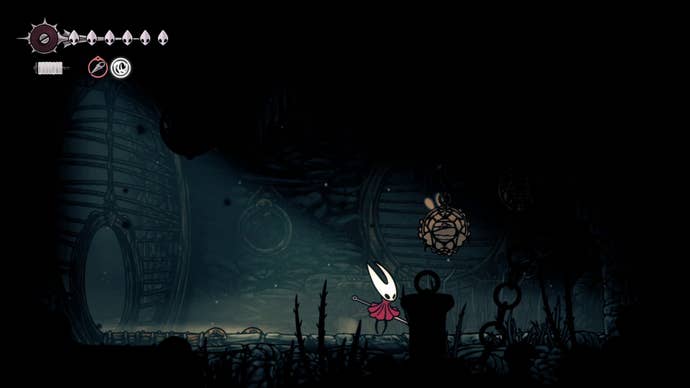
The Sinner's Road lost Flea is found in the room above Styx's dwellings (and the second Bench) in the area. Their location is labelled on the below map.

The room containing this lost Flea can be quite easy to miss as the entrance is obscured by a broken cage (pictured below).
Head on inside to free the Flea from a cage, but be prepared for some Murkroach enemies to spawn immediately afterwards.
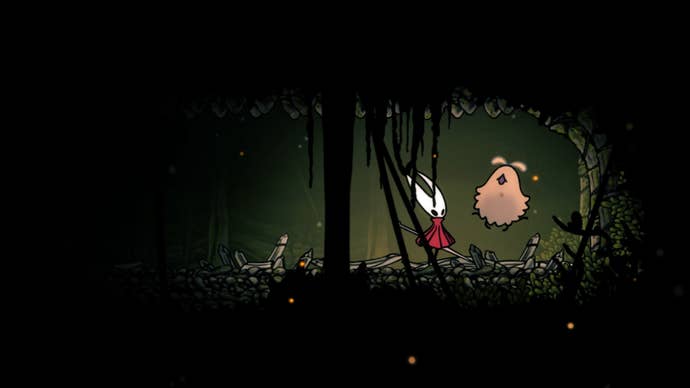
Flea 16 - Bilewater, Exhaust Organ
The Exhaust Organ section of Bilewater is fortunately quite small, meaning it isn't too hard to find the lost Flea there. You want to head inside the building here and make your way through the steam-filled passages to reach a wodden barricade.
Destroy the barricade and climb upwards, then head left. You'll come to what looks like a dead end, but you can actually keep heading left here into a hidden passage. Head downwards in this passage, avoiding the spikes below, to find yourself outside again.
Head left through the infested waters where you'll soon find a lost Flea trapped in some branches. Free him!
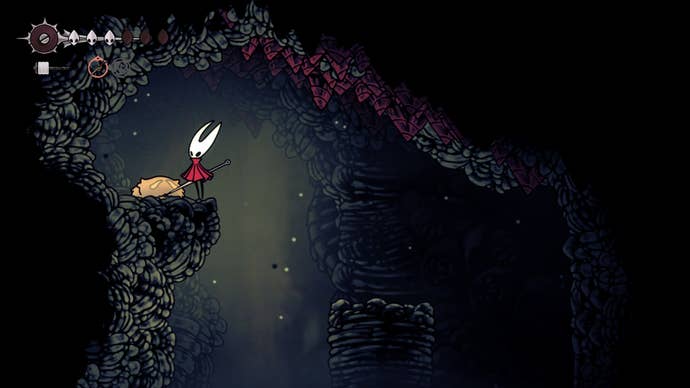
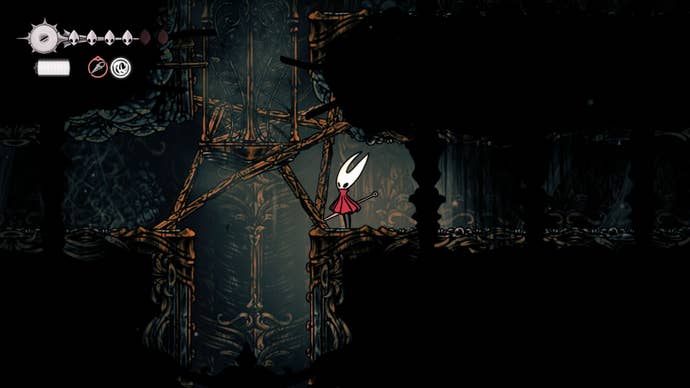
Flea 20 - Choral Chambers
The first of two lost Fleas found in Choral Chambers is located just above the Citadel Spa area. From the Bench there, head left, upwards, and then right to enter a tall chamber.
Platform up this tall chamber and enter the first exit on your right (pictured below).
The following room will have some disappearing platforms that you'll need to quickly hope across, as well as a Choir Bellbearer enemy to take care of.
At the end of the room, you'll find the lost Flea sleeping in a cage. Attack the cage to free him.
Flea 21 - Choral Chambers
The second lost Flea in Choral Chambers is also a short walk away from the Citadel Spa Bench. This time, head right of the Bench until you exit into a tall chamber. In this tall chamber, there are two breakable walls on the right-hand side that we need to destroy.
The first bit of breakable wall is right beside a disappearing platform and above some spikes, so it'll take a short while and some careful gliding before you destroy it.
Once you destroy the wall, enter and attack the fan to create a draft. We can't go up it just yet so exit the room. Platform further up the tall chamber and you'll find another breakable wall on the right, fortunately on a ledge this time
Destroy it and enter, then use the draft to glide upwards, avoiding the sawblades on either side of the passage.
At the top, you can rescue the lost Flea!
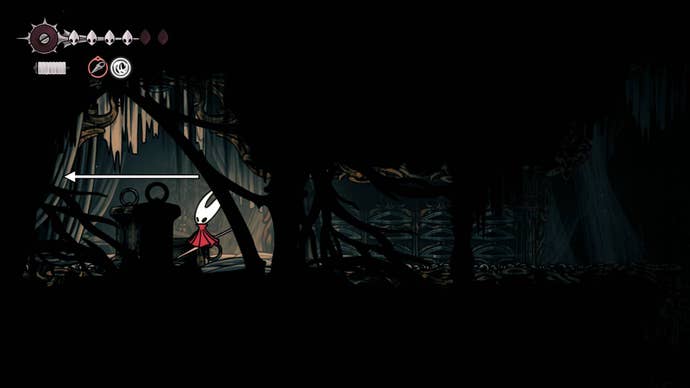
Flea 22 - Underworks
Assuming you have entered the Underworks via Whiteward (thus entering The Cauldron subsection), our route to the lost Flea begins from the Bench there.
From the Bench, head left and down, then hit the fan here to reveal a draft. Glide up it and exit the room.
You're now in a tall chamber with molten platforms and Cogwork Underfly enemies. You want to carefully platform down to the very bottom of this chamber and exit via the bottom-left corner.
In the following room, you'll need to quickly run past some explosive Cogwork Haulers to reach the lost Flea. Attack him to free him!
Flea 26 - The Slab
When you arrive in The Slab, it's likely you'll have been taken here against your will and robbed of all your gear. The lost Flea in this area is best accessed after you find the Key of Indolent, reclaim your gear, and get the Key of Heretic.
From the room in which you get your gear back, there'll be a Bench to the right. From the Bench, head right to unlock a door using the Key of Heretic.
Jump down the following chamber until you reach the trapdoor at the bottom, then head left into a room with a Guardfly enemy. Kill him, keep left, and enter the small cave at the end.
The lost Flea will be trapped in a cage here; attack it to free him.
We will continue to update this page as we find more Fleas!
How to start The Lost Flea in Silksong
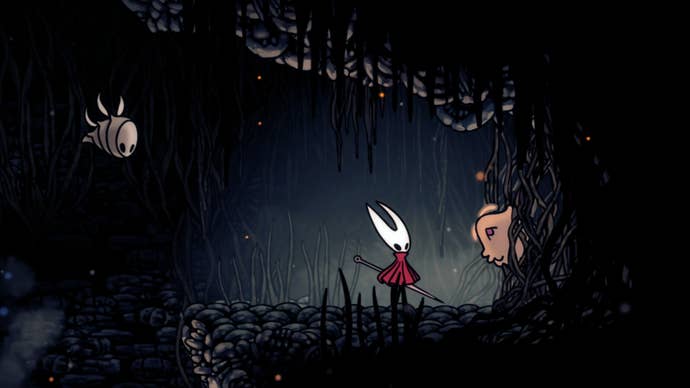
To start The Lost Flea in Silksong you need to find the Flea Caravan in The Marrow. To do this, head right from Shakra then down to a room with lava in it, continue across this room then up and to the left. You should see a sign here with a Flea on it, then keep heading left to run into the Fleamaster. Speak with them to begin this quest!

Remember, though there are 30 Lost Fleas to find, you only need to find five to continue to the next step of their quest! When you find your first five Lost Fleas, return to the Fleamaster at the Caravan in The Marrow and they'll transport you instantly to Greymoor. You can also speak to one of the Flea Caravan after arriving to get 'Flea Brew' which will help boost the speed of your movement and attacks briefly.
In the meantime, if you're looking for more Silksong help, check out our pages showing you how to beat Moorwing, how to get the bestiary, and our Berry Picking walkthrough.
Read this next
- Hollow Knight: Silksong devs admit it has "moments of steep difficulty" but also a "higher level of freedom" to avoid getting stonewalled
- Hollow Knight: Silksong's second patch detailed, but don't expect any balance tweaks
- Hollow Knight: Silksong is reportedly already about a third of the way to the original's total sales, with Steam leading the charge