Silksong Sinner’s Road walkthrough
How to complete Sinner’s Road in Hollow Knight: Silksong.


Sinner’s Road is one of two routes into Act 2 of Hollow Knight: Silksong. As a result of you approaching the end of Act 1 in Silksong, you can expect this area – much like Blasted Steps – to be very horrible.
There’s poisonous water laden with maggots, projectile-slinging enemies, and some very non-cute dog enemies to avoid. To help you get through the area and fix its broken Bench, here’s our Silksong Sinner’s Road walkthrough.
Silksong Sinner’s Road walkthrough
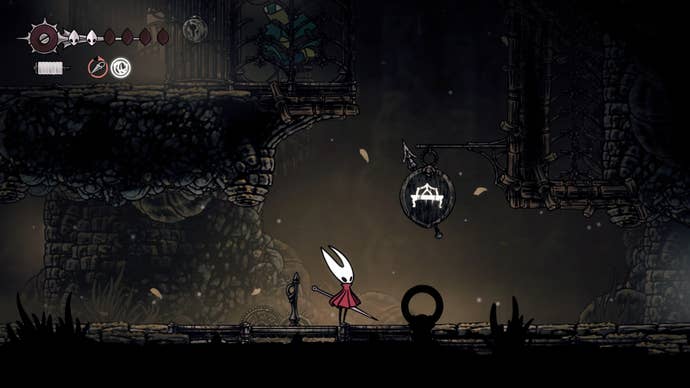
Assuming you have entered Sinner’s Road via northern Greymoor, you’ll find yourself in a room with multiple cages and Murkroach enemies. Clear out the enemies and head right into the next room. The first thing we’re going to do here is beeline for the Sinner’s Road Map and Bench.
Find Shakra and purchase the Sinner’s Road Map
In the next room, look up. You’ll see a lever as well as a locked cage containing the Green Prince. We’ll free him later (if you want) but as a heads up, you do require a Simple Key to unlock his cage.
Keep right, where you will see a Bench sign. Climb the wall to the right of the sign and keep going upwards using the cages.
A Roachcatcher who fires barbed bolas at you will be waiting at the top. Kill him and head right into the next room, where there are more cages as well as poisonous water that you want to avoid to the best of your ability.
Being in the water sees your Silk being consumed by the creatures that lurk in it, so bear that in mind.
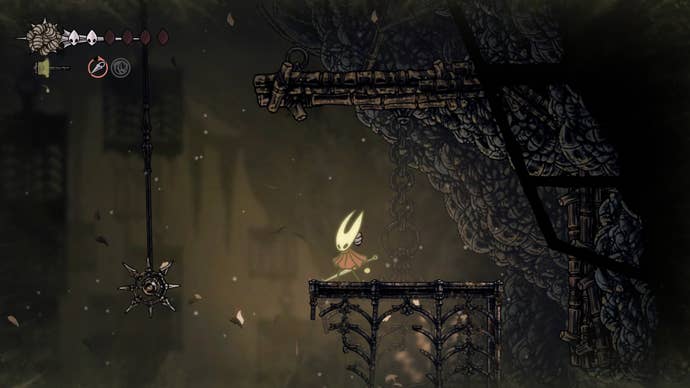
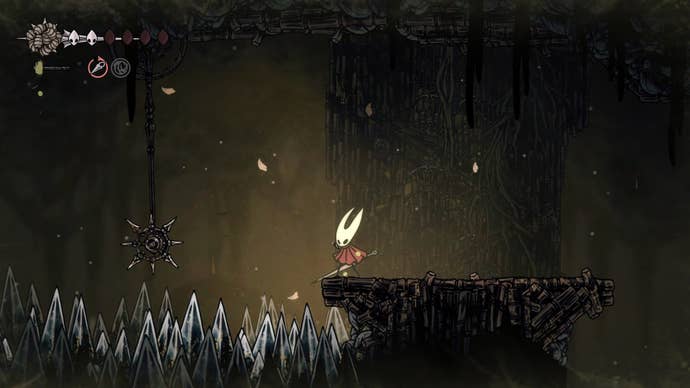
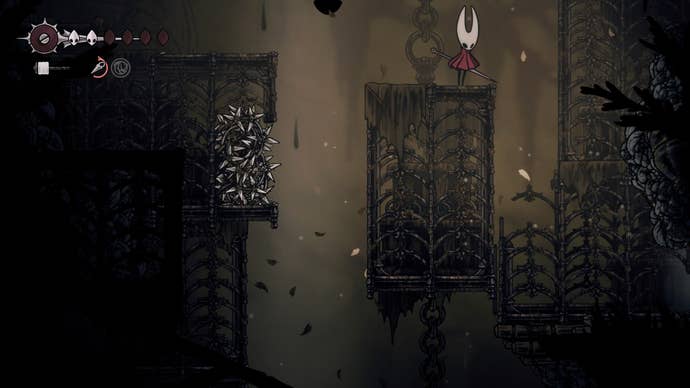
Keep right and you’ll come to some spiked wheels that you will need to pogo off of to continue.

There are a lot of these along Sinner’s Road and there’s no way of avoiding them. One tip I have is to use the Drifter’s Cloak when pogoing as it makes things that little bit easier, giving you the slightest bit more time to make sure your inputs for pogoing are correct.
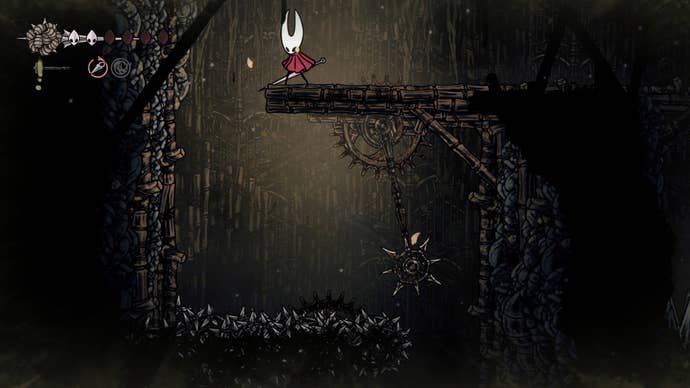
After jumping across the spiked wheels, continuing right has you reach the end of the room. Instead, you want to climb the wall here – near the Mite enemy and pictured below – and continue climbing this room upwards over to the top-left exit.
When you find yourself in the top-left corner of the room, there will be four spiked wheels above you that you cannot quite reach yet. Jump down here to find a locked exit and a lever. You know the drill by now. Hit the lever to open the door and exit the room.

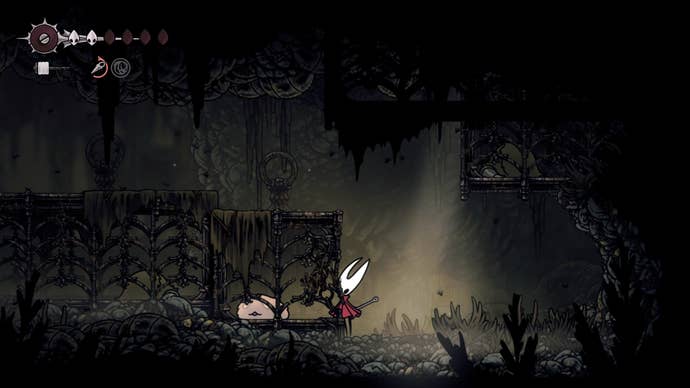
In the following room, take care of the Roachfeeder enemy and use the cages to head left. You’ll very quickly see a Bench sign pointing to the exit, so go through there.
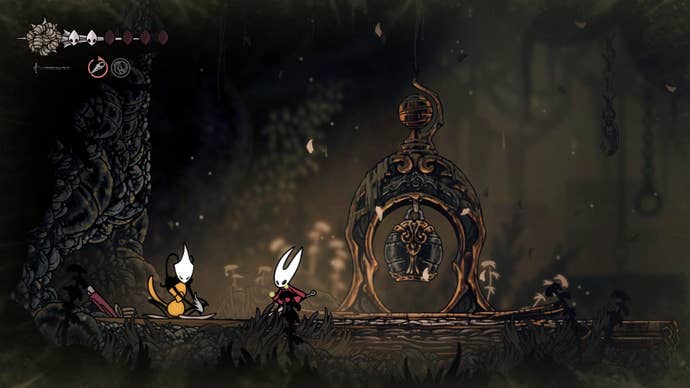
Use your Drifter’s Cloak to jump off the swinging spiked wheel here and reach the platform on your left, where you’ll find the Sinner’s Road Bench (which costs 40 Rosaries to unlock) and Shakra.
Small issue here, however: the Bench is broken. That’s fine, we’re off on a perilous adventure to go and fix it next.
How to fix the Sinner’s Road Bench
From Shakra, climb the wall above her using the Cling Grip Skill and begin attacking the top-left corner where the rocks look slightly different. This reveals a hidden passage.
In the following room, there are two swinging spike traps you’ll need to carefully pogo off to reach the platform to your left. Again, remember to use Drifter’s Cloak here if need be.
Once you reach the wooden platform, bad news. There are another two swinging spike traps to pogo off of.
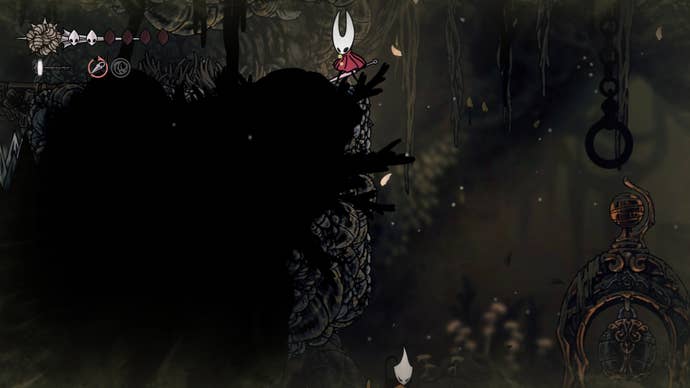
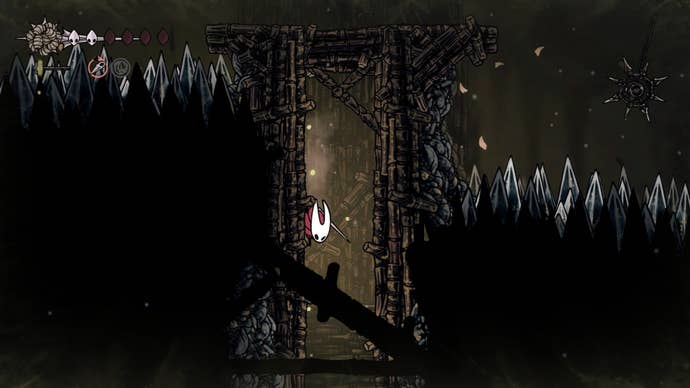
Unfortunately, things proceed to only get worse in Sinner’s Road. In the next area, you will need to glide and pogo down the chamber carefully avoiding the spiked terrain and swinging spike traps.
At the bottom of this chamber, there are some spools of thread on your left you can attack to get some Silk. On your right, however, there are more swinging spike traps to traverse across.

After getting past these spike traps, you’re fortunately very close to unlocking the Bench at last. Attack the tree branches on your right here; they are blocking the cogs that make the Bench work.
Next, look to your left and you will see a wall you can climb up, providing us a slight shortcut back to the Bench.
Follow the platforms on your left and keep climbing upwards until you come to a blockade. Attack the blockade and you’ll be back at the swinging spike traps from earlier.
Go right to reach the Bench, which fortunately now works. When you’re ready, exit this room to your right again.

In the following chamber, we want to continue going upwards using the cages so clear out the Roachfeeder enemies here and do that. Exit at the top of the chamber.
You’ll now find yourself in a tiny room with two levers above you. Attack one of them and go upwards.

In the following area, we’ve a few things to do.
Get the Simple Key and free the Green Prince
If you head right and keep north, you’ll eventually arrive in a tall chamber. At the very top of the tall chamber which is covered in hazardous spikes, you can kill a Pondcatcher enemy to get a Simple Key for free.

You can then use this Simple Key to go back and free the Green Prince. You don’t have to do this right now, but I do recommend doing this before entering Act 3 of Silksong.
Rescue the Flea
From where you entered the tall chamber (with the Pondcatcher enemy at the top), jump down onto a cage with some Rosaries inside of it.
Keep heading downwards and keep right. You should come to a broken cage by a Mite enemy that leads to an exit on the right side of the room.
In the following room, you’ll see a Flea sleeping inside of a cage. Destroy this cage to free him but prepare to wake up some Murkroaches in the process. Kill them and exit back into the tall chamber.
Meet Styx
Back in the tall chamber, make your way to the very bottom and exit to the right. At the end of the following room, kill the two Murkroaches.
This causes the room to tumble and a Bench to appear. Rest at the Bench and soon enough, Styx will rock up to say hello. Exhaust his dialogue and that’s all there is to do here for now.

Make your way to the next region
After meeting Styx, exit back into the tall chamber and head upwards. We want to exit via where we originally entered this room, returning to the area that had the tiny room with two levers. We’ve labelled this on the below map in case you get lost.
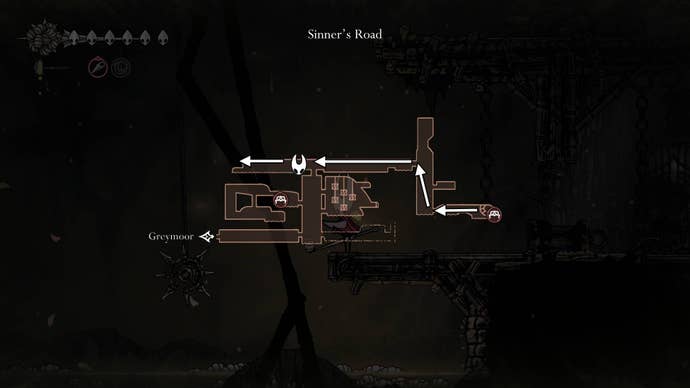
This time, we want to go left of the levers (instead of right), where we will need to pogo off of some more swinging spike traps.
Keep heading left until you come to another Pondcatcher enemy and look at the wall to the left of him. Much like the wall near the broken Bench and Shakra, we want to climb up this wall and attack the top-left corner to reveal a hidden passage again.
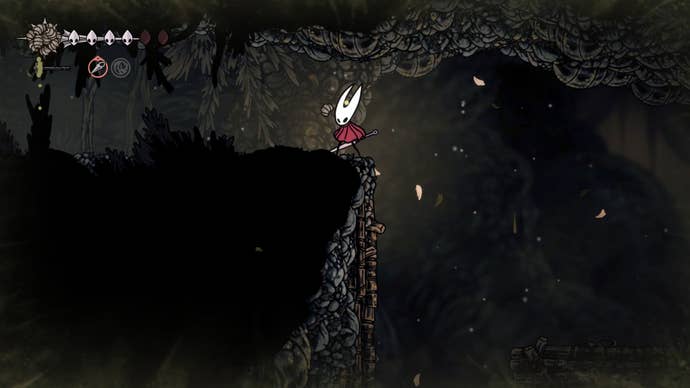
Exit the room via the hidden passage to find yourself in a very interesting region known as The Mist. If you successfully make your way through this area, you’ll find yourself in the Exhaust Organ section of Bilewater sooner or later. There, you’ll be able to face a boss that allows you to enter Act 2, but you’ll need to solve the puzzle of the region that is The Mist first.
One thing to note is that if you somehow don’t have the Needolin by now, you should visit Bellhart and beat Widow to get your hands on it as it’ll help. If you need some more help navigating The Mist, here’s our Silksong The Mist walkthrough.
For more on Hollow Knight: Silksong, take a look at our list of all Mask Shard locations needed for Greyroot, our list of all Tool locations, and our Silksong walkthrough.
Read this next
- Hollow Knight: Silksong devs admit it has "moments of steep difficulty" but also a "higher level of freedom" to avoid getting stonewalled
- Hollow Knight: Silksong's second patch detailed, but don't expect any balance tweaks
- Hollow Knight: Silksong is reportedly already about a third of the way to the original's total sales, with Steam leading the charge