Silksong The Slab walkthrough
How to complete The Slab in Hollow Knight: Silksong.


The Slab is a confusing yet interesting area in Hollow Knight: Silksong, given that this maze-like section of the map is packed to the brim with locked doors and breakable walls. Silksong’s The Slab is also home to two hidden bosses, depending on how much progress you’ve made, that you’ll eventually want to seek out.
How you end up in the region, which is likely after being kidnapped by another bug, is also one of many layers as to what makes this region so… amusing, despite being a decrepit prison. Here’s our Silksong The Slab walkthrough to ensure you don’t miss anything this region has to offer.
Silksong The Slab walkthrough
There are two ways of entering The Slab in Silksong, though the likelihood is that you’ve been transported here and have woken up without your Cloak or any of your gear. You can, however, also enter this area via Choral Chambers, but that’s not nearly as fun a route to take!
This walkthrough assumes you have been exploring Pharloom, had an encounter with an enemy with a cage, and then been teleported to The Slab. If you haven’t experienced this amusing interaction yet, then this encounter appears to happen randomly in multiple regions: it happened to me in Greymoor but I’ve also seen it happen in Deep Docks and Far Fields!
Just in case you are entering the region via Choral Chambers, here’s a map showing where you enter from versus where you wake up if you are captured to help with your navigation:

Now, let’s go ahead and explore the maze that is The Slab and make our escape into the snowy region that is Mount Fay.

Collect Key of Indolent
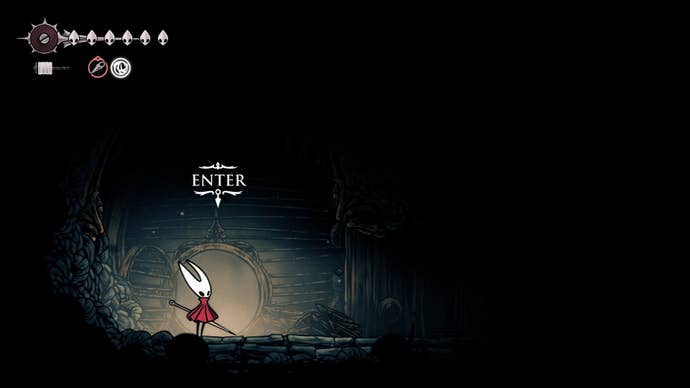
After waking up, break out of your cage (by attacking it) and hop down to the bottom of the room. The doors above us are locked by keys we do not have right now.
At the bottom of the room, exit to the left. There’s another locked door here… but just above it, there’s a breakable bit of ceiling you can hop up to and attack.
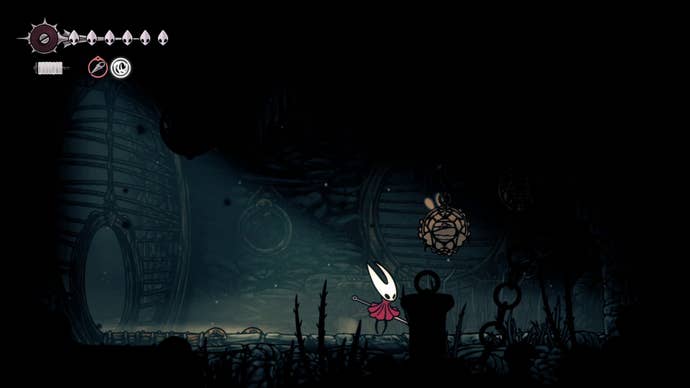
Be careful of the traps up ahead and head upwards, then left. You’ll soon find yourself beneath a room full of enemies that have your cloak and gear. We’ll deal with them soon!

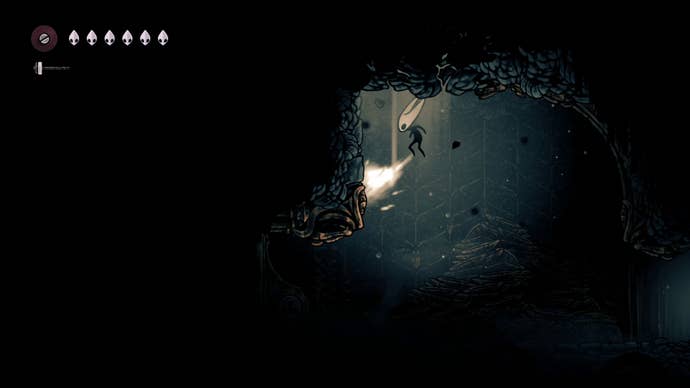
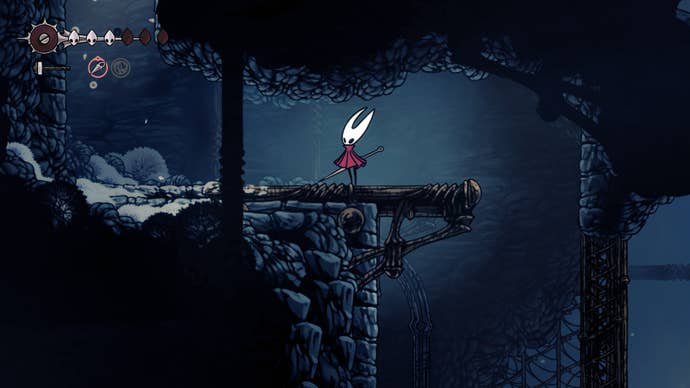
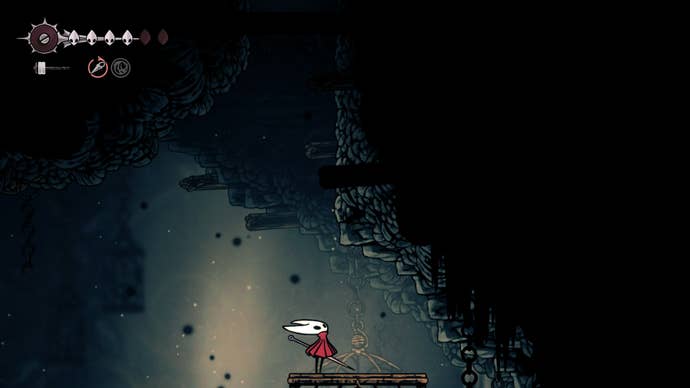
Keep left to find yourself outside, on the edge of the snowy, cold region that is Mount Fay. You’ll begin to take damage from the temperature here so we want to quickly make our way inside again (in Mount Fay, there are fortunately furnaces you can use to warm up).
Slide down the wall here and enter the first room on your right, where you’ll encounter some Penitent enemies. Go to the far-right side of the room and jump down.
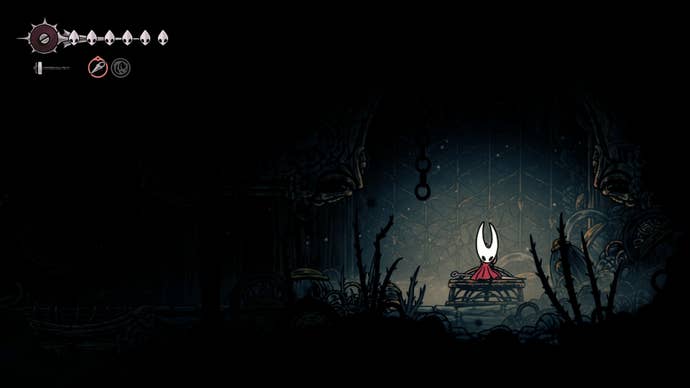
In the room to your left, you can collect the Key of Indolent.

Meet Grindle and collect The Slab Map
Here, you’ll run into Grindle who has unsurprisingly also been locked up in one of The Slab’s cells. Chat with him through the locked door then use the Key of Indolent to open up his cell.
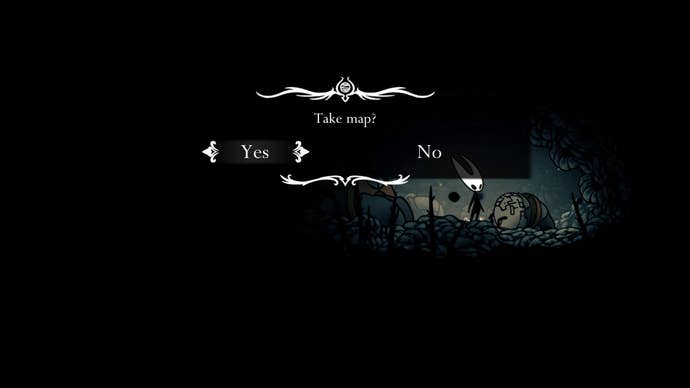
If you then keep right in the following area, you’ll be able to chat to Grindle some more and reach The Slab Bench. Just past that, there’s a hidden passage you can hop into to finally collect The Slab Map too.
Exit this room and jump down, where you’ll arrive at a trapdoor in need of the Key of Heretic. Ignore this for now and proceed right.
Meet Old Penitent
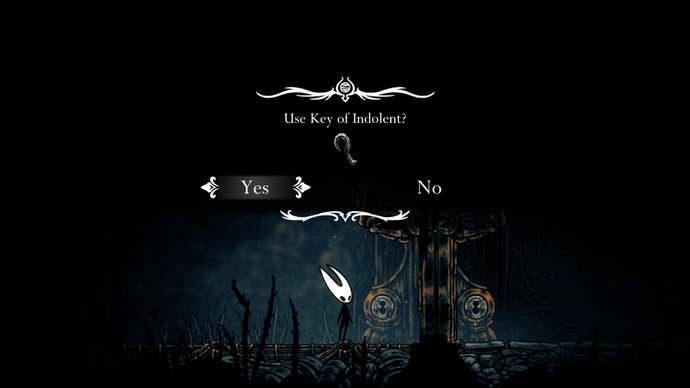
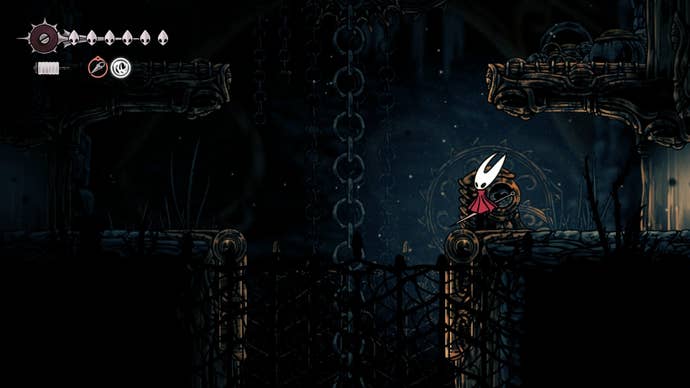
In the following room, there’s a locked door that requires the Key of Indolent, but first, there's one thing you should make note of; you can enter the cave beside the lock that is pictured below.

Inside, you can play your Needolin - once you have finally claimed your gear back from The Slab - and the Old Penitent will appear. You can then exhaust his dialogue to learn a little more about The Slab, but nothing much else right now.

To continue, leave the cave and unlock the door on your right using the Key of Indolent.
Beat The Slab gauntlet
In the following room, a gauntlet will begin. Fortunately, there are multiple spike traps around the room that you can and should use to help you clear out the enemies; just be careful to not fall victim to the traps yourself. These will quickly clear out enemies while you're without your gear.
Once the gauntlet has been beaten, exit the room to the right to find yourself outside. Climb up the following section (being careful of the pressure plates along the way, near the top) until to come to another exit – on the left – at the very top.
You’re back in the cold again and will soon start taking damage. For this following section, you simply want to run to the left – the whole way – where you’ll eventually come to a downwards exit back into The Slab’s interior.
Fortunately, there are furnaces along the way to seek some safety from the cold, but there’s also plenty of traps and enemies to quickly maneuver past too.
Retrieve your gear and collect Key of Heretic
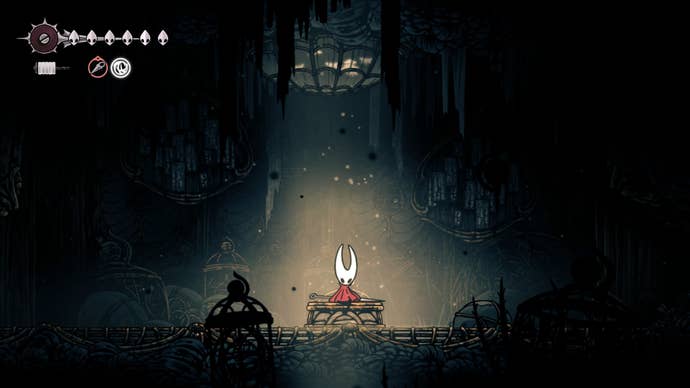
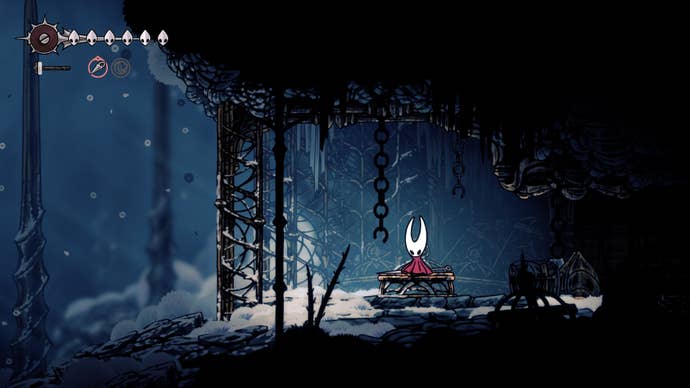
Once back inside The Slab, hop downwards and right to find another Bench. Rest!
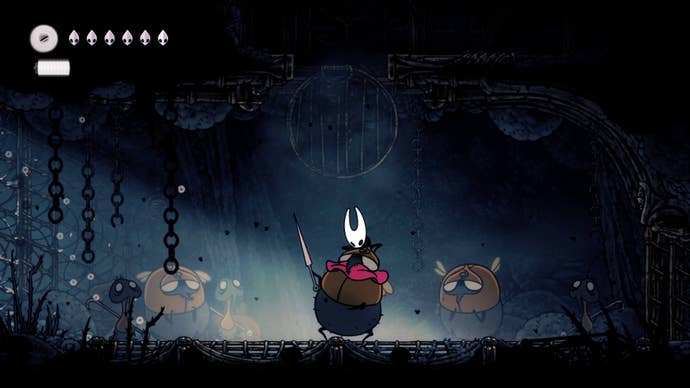
From the Bench, head right, downwards, then left. You’ll come to a gate you can attack to drop downwards into a room full of the enemies that stole your gear.
What ensues as you drop down into this room is one of the funniest moments in all of Silksong; Hornet swiftly takes her captor out and you then have to fight the remaining enemies. The good news (for you, at least) is that Hornet winds up so angry at these guys that she then deals double the damage for the remainder of the fight.
Once you beat this particular gauntlet, pick up the item dropped by the final enemy; it’s the Key of Heretic finally.
Keep right to come to another Bench. Just past that is a door we can unlock using the newly-acquired Key of Heretic.
Would you look at that? We’re right back where we started, and we can now make our escape. On the way, however, we’re going to rescue a lost Flea.
Rescue the lost Flea
Jump down this cavern until you reach the locked trapdoor in need of the Key of Heretic. You can now open this!
Instead of jumping down right away however, head left into a room with a Guardfly enemy. Take him out, keep left, and enter the cave at the end.
Inside, you’ll find a lost Flea unfortunately trapped in a cage. Attack it to free him.
With that done, return to the trapdoor we just unlocked and make your way down. Hit the upcoming lever to open a second trapdoor and continue downwards.
Collect the Spool Fragment
At the bottom, exit to the left. In this room, there’s a Shard Bundle on the far-left that you can retrieve by attacking a lightbulb three times. Up above, you’ll see some platforms you can climb up to to reach an upwards exit. Do that, being mindful of the Drapefly enemies.
Sprint left in the following room to avoid the traps. Once outside, climb to the top to grab a Spool Fragment.

After that, return to the room containing the Drapeflies and go through the downwards exit on the left-hand side of the room.
Make your escape using the Bellway
In the next room, clear out the enemies and keep going downwards.
You’ll arrive in a room with some broken platforms and just below, a sign pointing towards a Bellway station. Before beelining for that, head right to reach a Bench and rest.
If you then head left of the Bench, you’ll reach The Slab’s Bellway Station and can now finally make your escape from the prison. If you head even further left of the Bellway Station, you can finally explore Mount Fay in its entirety.
Key of Apostate location
While exploring The Slab in Silksong, you'll no doubt take note of the fact that some locked doors require the Apostate Key which you won’t have found. That’s because this key is all the way on the other side of the map in an area known as Putrified Ducts.
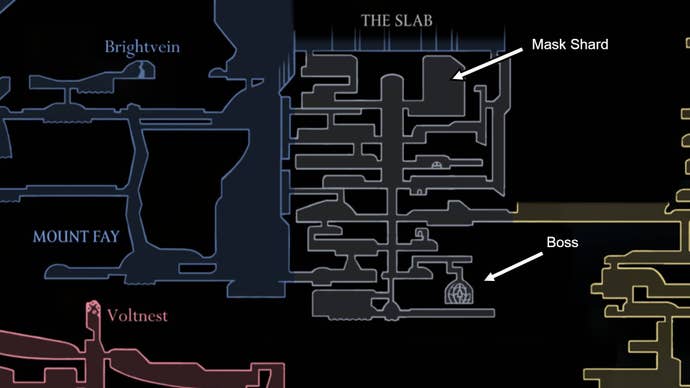
Once you do get your hands on the Apostate Key, you can return to The Slab and use it to unlock the door in the top-right hand corner of the region. The following room contains a platforming challenge that’ll allow you to retrieve a Mask Shard.
On top of this, there’s also a boss hidden deep in The Slab that you won’t be able to access without the Key of Apostate (as well as the Key of Heretic and Key of Indolent). They’re found in the lower left-hand corner of the region, locked in a cell, and are well worth seeking out after you’ve explored Putrified Ducts and Mount Fay (where you can get the Faydown Cloak ability also needed to reach this boss).
For more on Hollow Knight: Silksong, take a look at our list of all Bellway locations, all Memento locations, and our Silksong walkthrough.
Read this next
- Hollow Knight: Silksong devs admit it has "moments of steep difficulty" but also a "higher level of freedom" to avoid getting stonewalled
- Hollow Knight: Silksong's second patch detailed, but don't expect any balance tweaks
- Hollow Knight: Silksong is reportedly already about a third of the way to the original's total sales, with Steam leading the charge