Silksong Wailing Mother location, and how to beat
How to find and beat the Broodmother in Hollow Knight: Silksong.

The Wailing Mother Grand Hunt Wish in Silksong is one that'll appear on Songclave's Wish Board after you've spent some time wrapping up all the side quests you have collected so far. You'll also need to have spent some of your hard-earned Silksong resources on restoring Pharloom's towns for the townsfolk to deem you fit for the task.
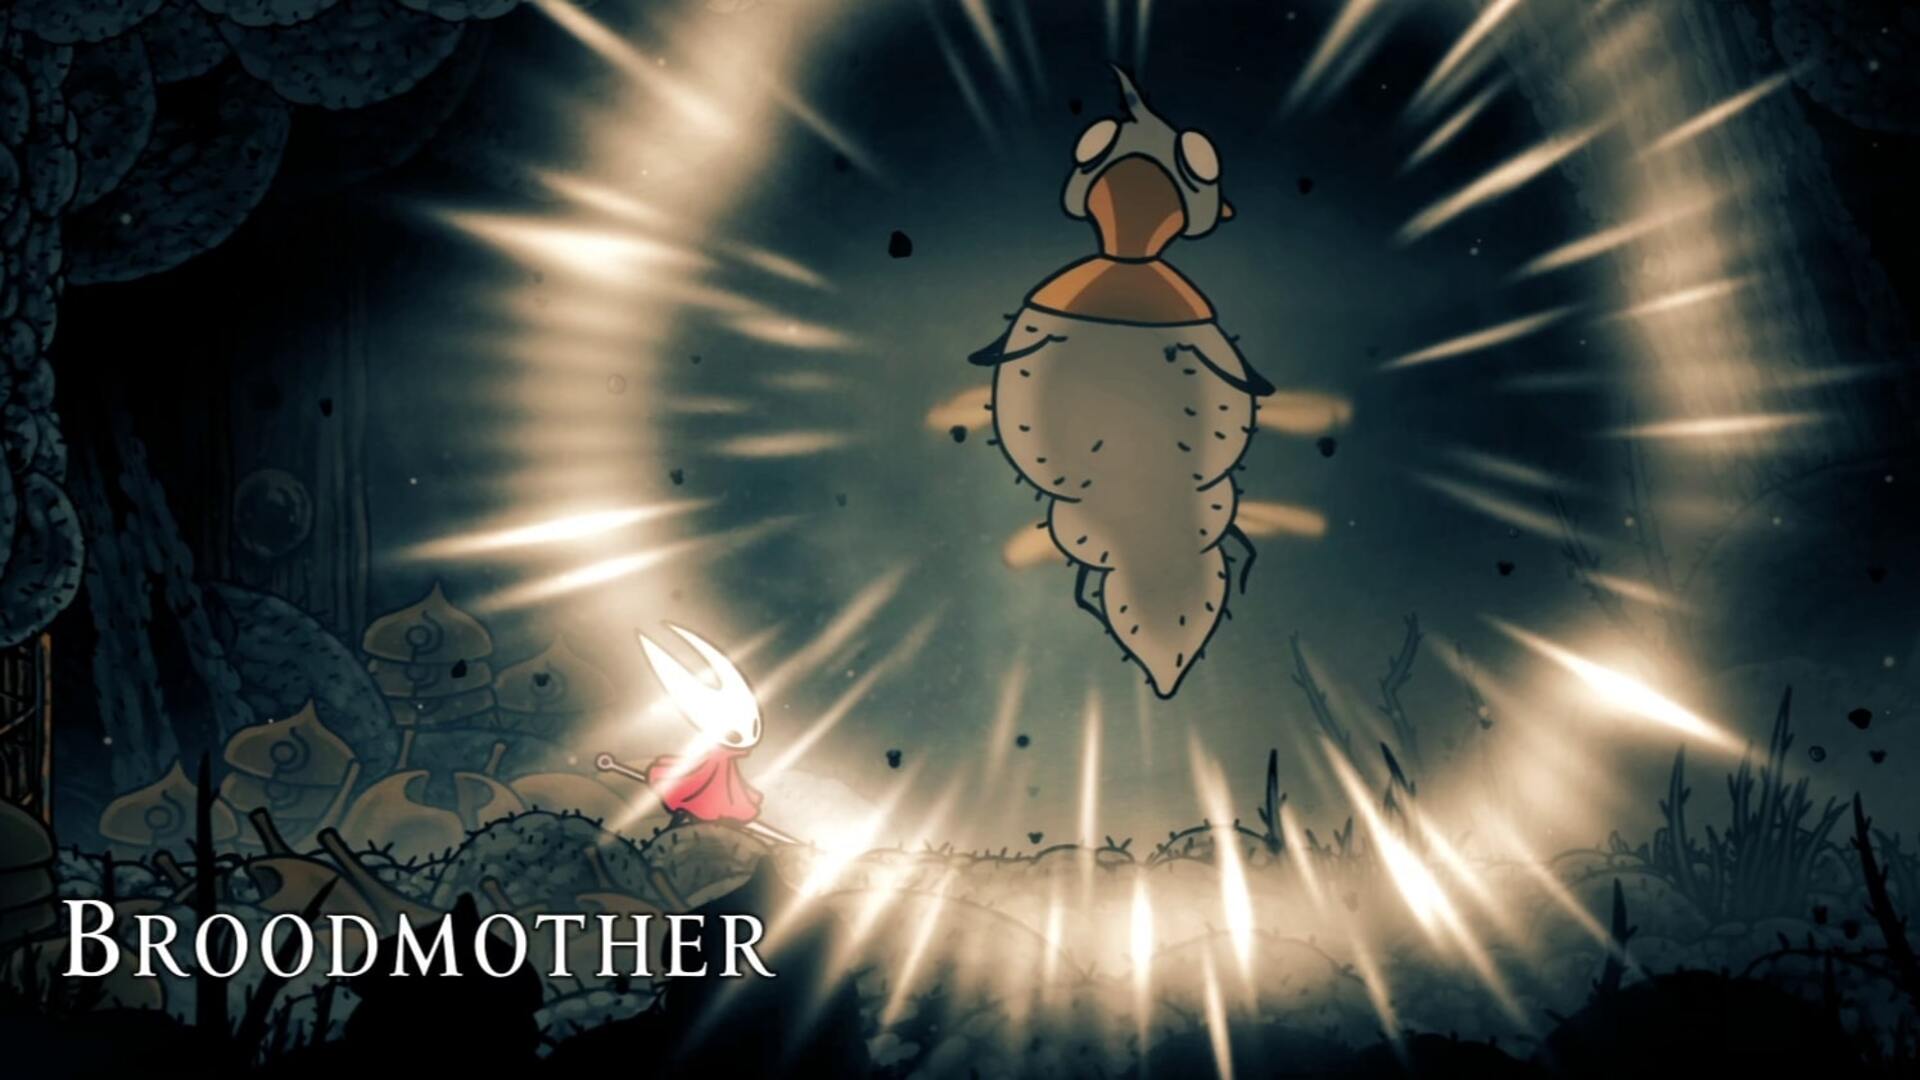
Once The Wailing Mother Wish is available, you'll be sent to track down the trail of the Broodmother, a formidable opponent found hidden away in The Slab. To help you out, here's our guide to Silksong's Wailing Mother location, as well as how to beat the Broodmother.
On this page:
Silksong Wailing Mother prerequisites
There are a few prerequisites for actually unlocking The Wailing Mother Wish in Silksong and being able to tackle the Great Hunt of the Broodmother.
First things first, you want to have completed the Building Up Songclave and Strengthening Songclave Wishes, which require you to donate a bunch of Rosaries to the town. The latter Wish likely won't appear until you have completed The Wandering Merchant, Balm for the Wounded, Fine Pins, and Cloaks of the Choir Wishes either.
After clearing out Songclave of Wishes, you can rest at the First Shrine Bench and the Grand Hunt Wish – The Wailing Mother – should be available. If it isn't, then it's likely you might have some more 'restoration' Wishes to complete in Bone Bottom and/or Bellhart; these are Wishes that require you to donate supplies to the towns, and The Wailing Mother did not personally appear for me until all of these were wrapped up.
To summarise, you must complete the following Wishes for The Wailing Mother Wish to become available in Silksong's Songclave:
- Building Up Songclave
- Fine Pins
- Cloaks of the Choir
- The Wandering Merchant
- Balm for the Wounded
- Strengthening Songclave
- Any Donation Wishes in Bellhart and/or Bone Bottom
Silksong Wailing Mother location
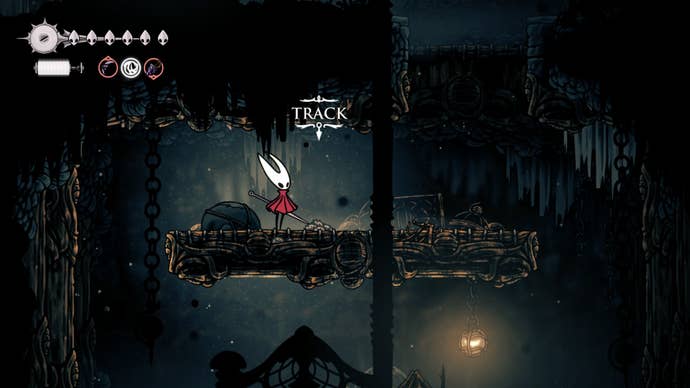
With how to unlock The Wailing Mother Wish in Silksong out of the way, let's talk about how to actually go about finding her. Much like the My Missing Courier and My Missing Brother Wishes, the Wailing Mother has left behind a trail through The Slab that you can track to her location.
This trail starts in the central chamber of The Slab, a little below where Hornet will have been taken if you happen to have first arrived at The Slab by being captured.
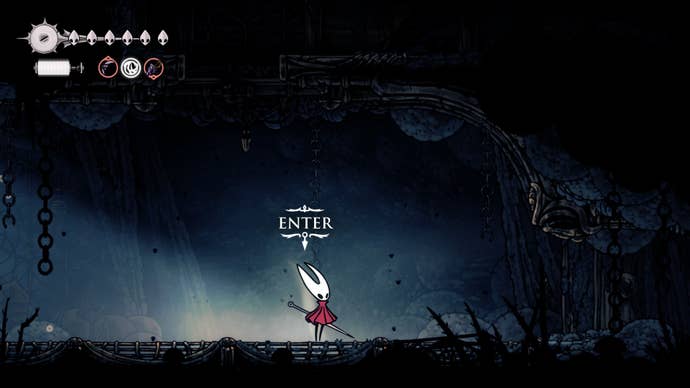
If you'd rather not be chasing after the Wailing Mother and simply want to know where she is hiding, she's hidden in the top-left corner of The Slab, which we've marked on the below map. Her arena is through a crack in the wall, to the left of the Bench here, that you'll need to enter.

How to beat the Broodmother in Silksong
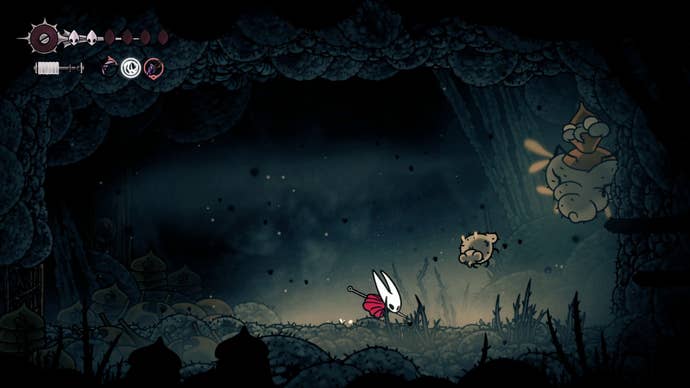
The Broodmother is an incredibly tough fight in Silksong. First of all, you can't just waltz into her arena and start fighting her, as you must complete a gauntlet of Freshflies, Wardenflies, and Guardflies before she appears. And yes, unfortunately, you must do this gauntlet every single time as part of her fight.
Once the Broodmother does finally appear, she – like Sister Splinter – won't be alone during this fight as she'll summon explosive Freshflies throughout it. This makes the fight very precarious as you try to dodge the Broodmother's slams while also avoiding the Freshflies who explode shortly after being hit, both of which deal two Masks of damage.
On top of that, as if the fight wasn't awful enough, the Broodmother will spit slime at you – much like The Slab's enemies – which will prevent Hornet from moving or attacking until she dispels it. Being caught by this slime can be quite damning, as it gives Broodmother and her minions plenty of time to deplete most of your Masks while you shake it off.
Here are Broodmother's arsenal of attacks:
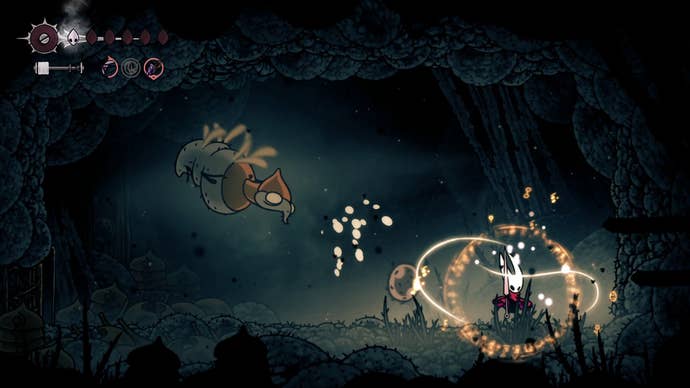
- Slime Spit: The Broodmother will spit out balls of slime from her mouth at Hornet. If caught by one, Hornet will be rendered immobile until she shakes it off, giving the opponent plenty of time to attack her. Avoid these at all costs.
- Freshfly Summon: The Broodmother will fire Freshflies from her tail throughout the fight, and often in quick succession, meaning there can be multiple Freshflies – plus the Broodmother – in the arena at any given time if you do not keep on top of clearing them. These Freshflies only take one hit to kill, but will explode after a short delay, so you'll want to attack them then quickly get out of their way. I found Thread Storm helpful with taking down multiple while also doing damage to the boss, but you run the risk of the boss quickly charging at you while you use this. Projectile Tools can also be useful here.
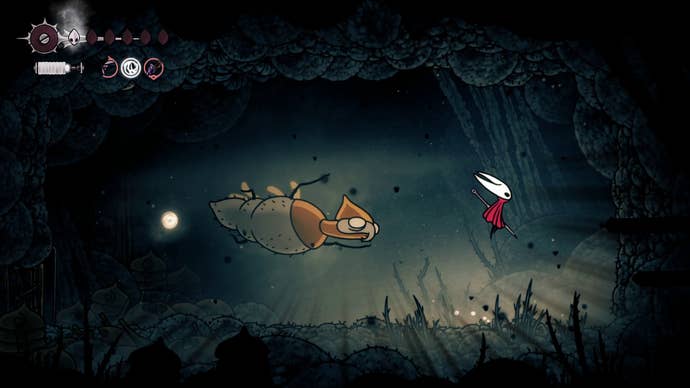
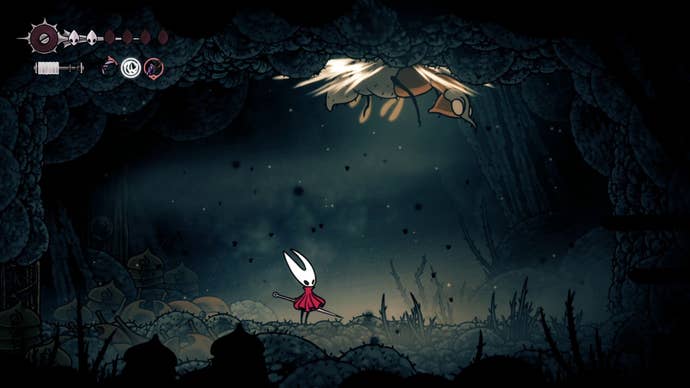
- Charge Attack: The Broodmother will raise their arms and leap across the arena at Hornet, and can sometimes do this multiple times in quick succession. You want to jump over her charge and preferably pogo off her to land a hit, or try to hit her tail afterwards. Do not try to pogo off her more than once, however, as The Broodmother can become aerial again following this attack, damaging you on contact.
- Ricochet Charge Attack: The Broodmother ricochets around the arena, slamming herself between the floor and ceiling diagonally. You want to keep out of her way while she performs this attack so as to not get caught out by her. Jumping over to and staying on the side of the arena where she begins the attack is your best bet, but you'll ultimately need to keep moving once she turns around.
The Broodmother is, simply put, one of the less satisfying fights in Silksong. She is, in my opinion, one of the least fun fights thanks to the fact she deals two Masks of damage with her attacks and on contact, and is one of many fights that, rather frustratingly, have gauntlets of enemies before them. Fortunately, the gauntlet enemies having very little HP and the Bench being so close to her arena make things a little bit more bearable. There's also some Tools you can utilise to make the fight that little bit less troubling, but it's still not going to be a cakewalk by any means…
First things first, you want to take the Freshflies out of the picture as quickly as possible when they appear, otherwise they get in the way. On top of that, Broodmother needing to spawn more Freshflies means she won't be charging at you while she does so, and this is a good opportunity for you to get beneath her and attack her, either with your Needle or Silk Skills. You will want to watch out for her raising her arms before she charges though, and quickly get out of the way as she does.
When she charges across the room in an attempt to slam down on Hornet, stay out of her way as she does and then pogo off of her back after she lands. Quickly get out of the way after pogoing her, however, as it is likely she'll fly back up again and come into contact with you otherwise. Alternatively, you can dash over to her as she lands and attack her tail before she flies back up again.
The most deadly attack of the Broodmother's to be aware of is her charging ricochet attack, which sees her slamming herself off the ceiling and floor of the arena. You'll want to dash over to the side of the arena where she started the attack to avoid this, while also carefully avoiding the path of this attack. Once she reaches one end of the room, it's likely she'll turn around and continue this attack quickly, so be prepared to move once that happens.
Now, aside from dodging and finding ample opportunity to attack, what else can aid with this fight? Tools, of course. At this point in the game, you should have a couple of Crafting Kit and Tool Pouch upgrades, allowing you to carry more Tools and deal more damage with them. If you don't have these upgrades, it's perhaps worth seeking them out, as Tools can do a significant amount of damage during boss fights and help keep Hornet safe.
Blue Tools I used for this fight were the Warding Bell and the Pollip Pouch. It's hard to find a moment to Bind during Broodmother's fight, and the Warding Bell ensures your safety if you do happen to get hit while Binding. On the other hand, the Pollip Pouch will imbue our offensive Tools with poison, which deals a small amount of damage over time, and any additional damage is always nice in Silksong. An alternative to the Warding Bell that I particularly like in any given situation is the Memory Crystal from Mount Fay, which leaves a small shadow behind once you take damage. If an enemy then comes into contact with the shadow, it'll explode and damage them; this is great for dealing that extra bit of damage without using an offensive red Tool to do so.
As for yellow Tools, I kept my Compass on as always, but the Magnetite Dice gives you a small chance that you won't take damage from an attack; not the most reliable Tool ever, but when it comes in clutch, it really comes in clutch.
As for your most important Tools – offensive red Tools – you've an array of options depending on what you've unlocked so far, but I found the Curveclaw – a projectile that boomerangs – really good for this fight. This Tool is made for taking down flying enemies, and well, the Broodmother and her ilk are all flying, so it's pretty useful. The Delver's Drill can also be good for attacking the Broodmother after she has charged at you and slammed into the ground, but I found that I didn't use this as often as I'd like. A Tool such as the Flintslate – which imbues your Needle with fire, or poison if you have the Pollip Pouch equipped – is better here if you're able to consistently attack the Broodmother. On top of that, you could also use the Cogfly Tool alongside the Pollip Pouch to send out your own mini-hoard of poisonous Cogfly enemies to attack the Broodmother and her Freshflies if you don't have Curveclaw or Flintslate to hand.
I highly recommend making the most of your Tools during this fight, as it'll make an otherwise miserable time that bit more manageable. Just don't do what I do and get so carried away slinging Tools at enemies that you forget to dodge…
Upon beating the Broodmother, you'll receive the Broodmother's Eye item. If you then turn the Wish into the Songclave Wish Board, rest at a Bench, and return to Broodmother's arena, you'll also be able to speak to the Broodling NPC.
For more on Hollow Knight: Silksong, make sure you're picking up all lost Fleas found throughout Pharloom. On top of that, here are all Needle upgrades, all Mask Shard locations and all Spool Fragment locations to make sure you're keeping on top of your upgrades.
Read this next
- Hollow Knight: Silksong devs admit it has "moments of steep difficulty" but also a "higher level of freedom" to avoid getting stonewalled
- Hollow Knight: Silksong's second patch detailed, but don't expect any balance tweaks
- Hollow Knight: Silksong is reportedly already about a third of the way to the original's total sales, with Steam leading the charge